I’ve really enjoyed the summer holidays this year. I feel like we’ve done so much, yet we haven’t spent a fortune.
With trips to the park, play dates with friends and fun in the garden, we really have had such a great summer holiday.
One of the things that our five year old twin girls really wanted to do was to make masks. We decided to use paper mache for some added fun and mess!
If you’d like to make your own masks, all you need is some PVA glue, a jug of water, a balloon, a newspaper, a few sheets of plain white paper and a pen. To decorate your masks, you’ll need some paint, paintbrushes and any craft supplies you want to use such as glitter and stickers!
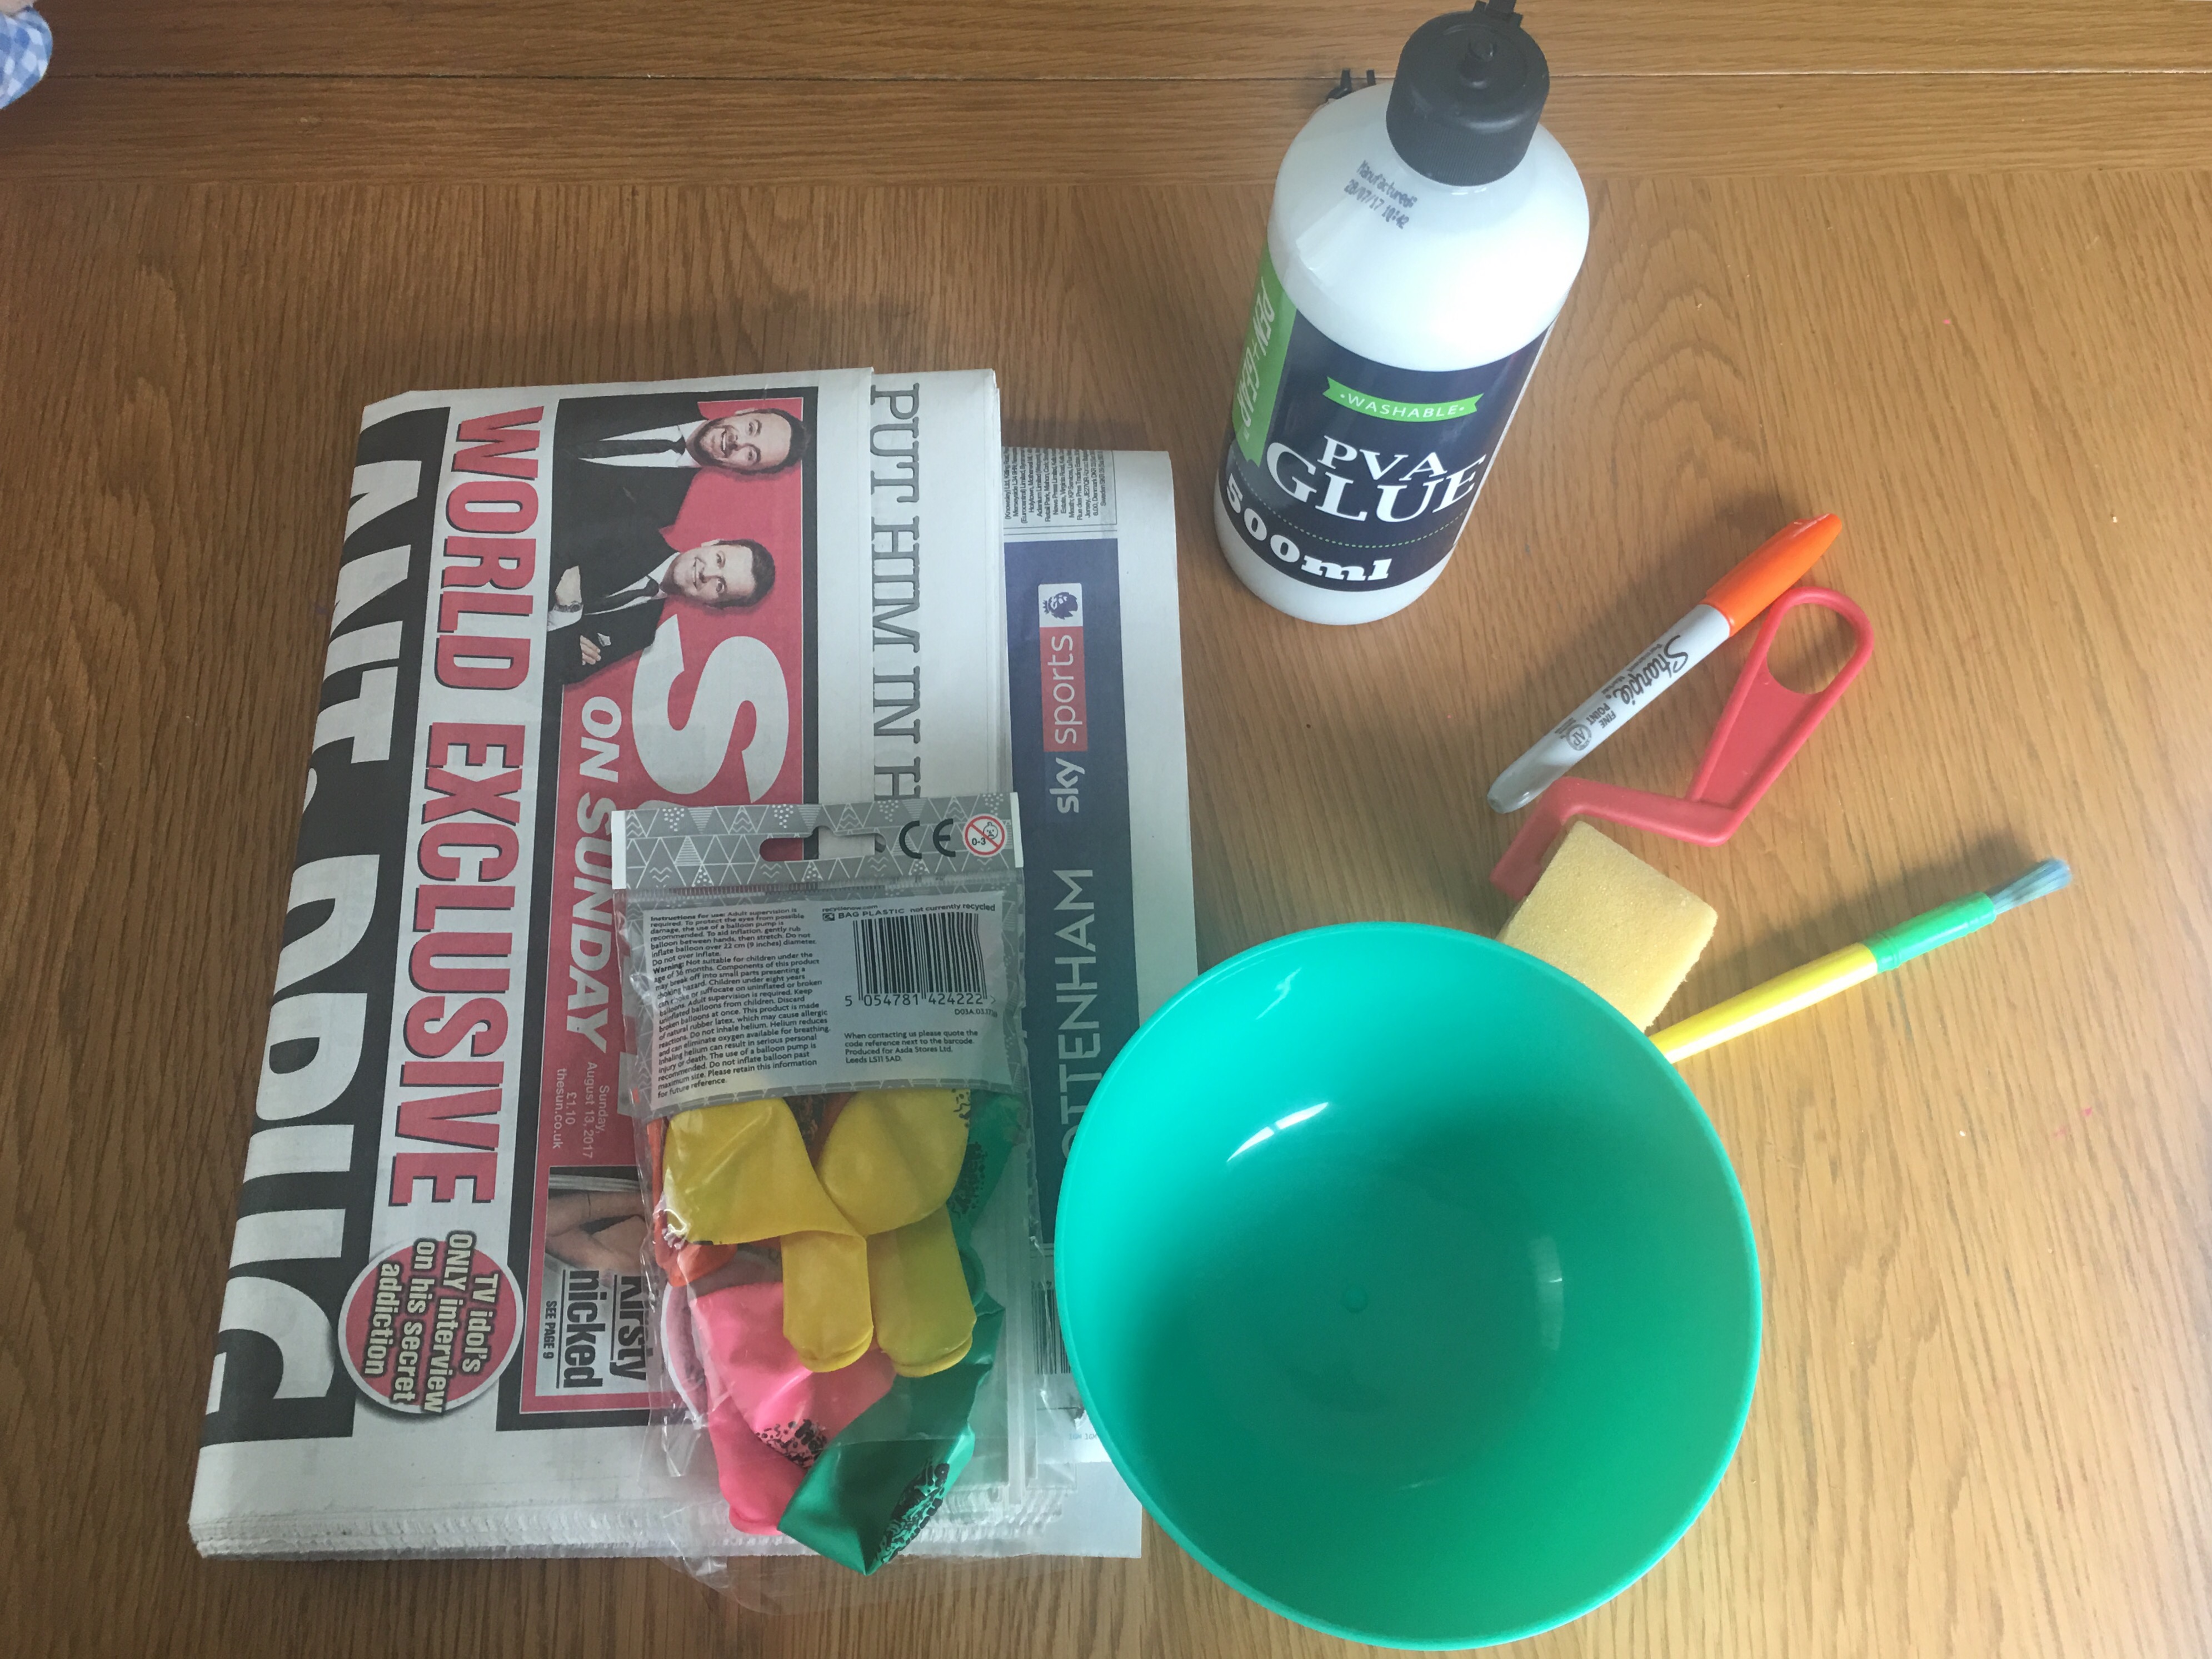
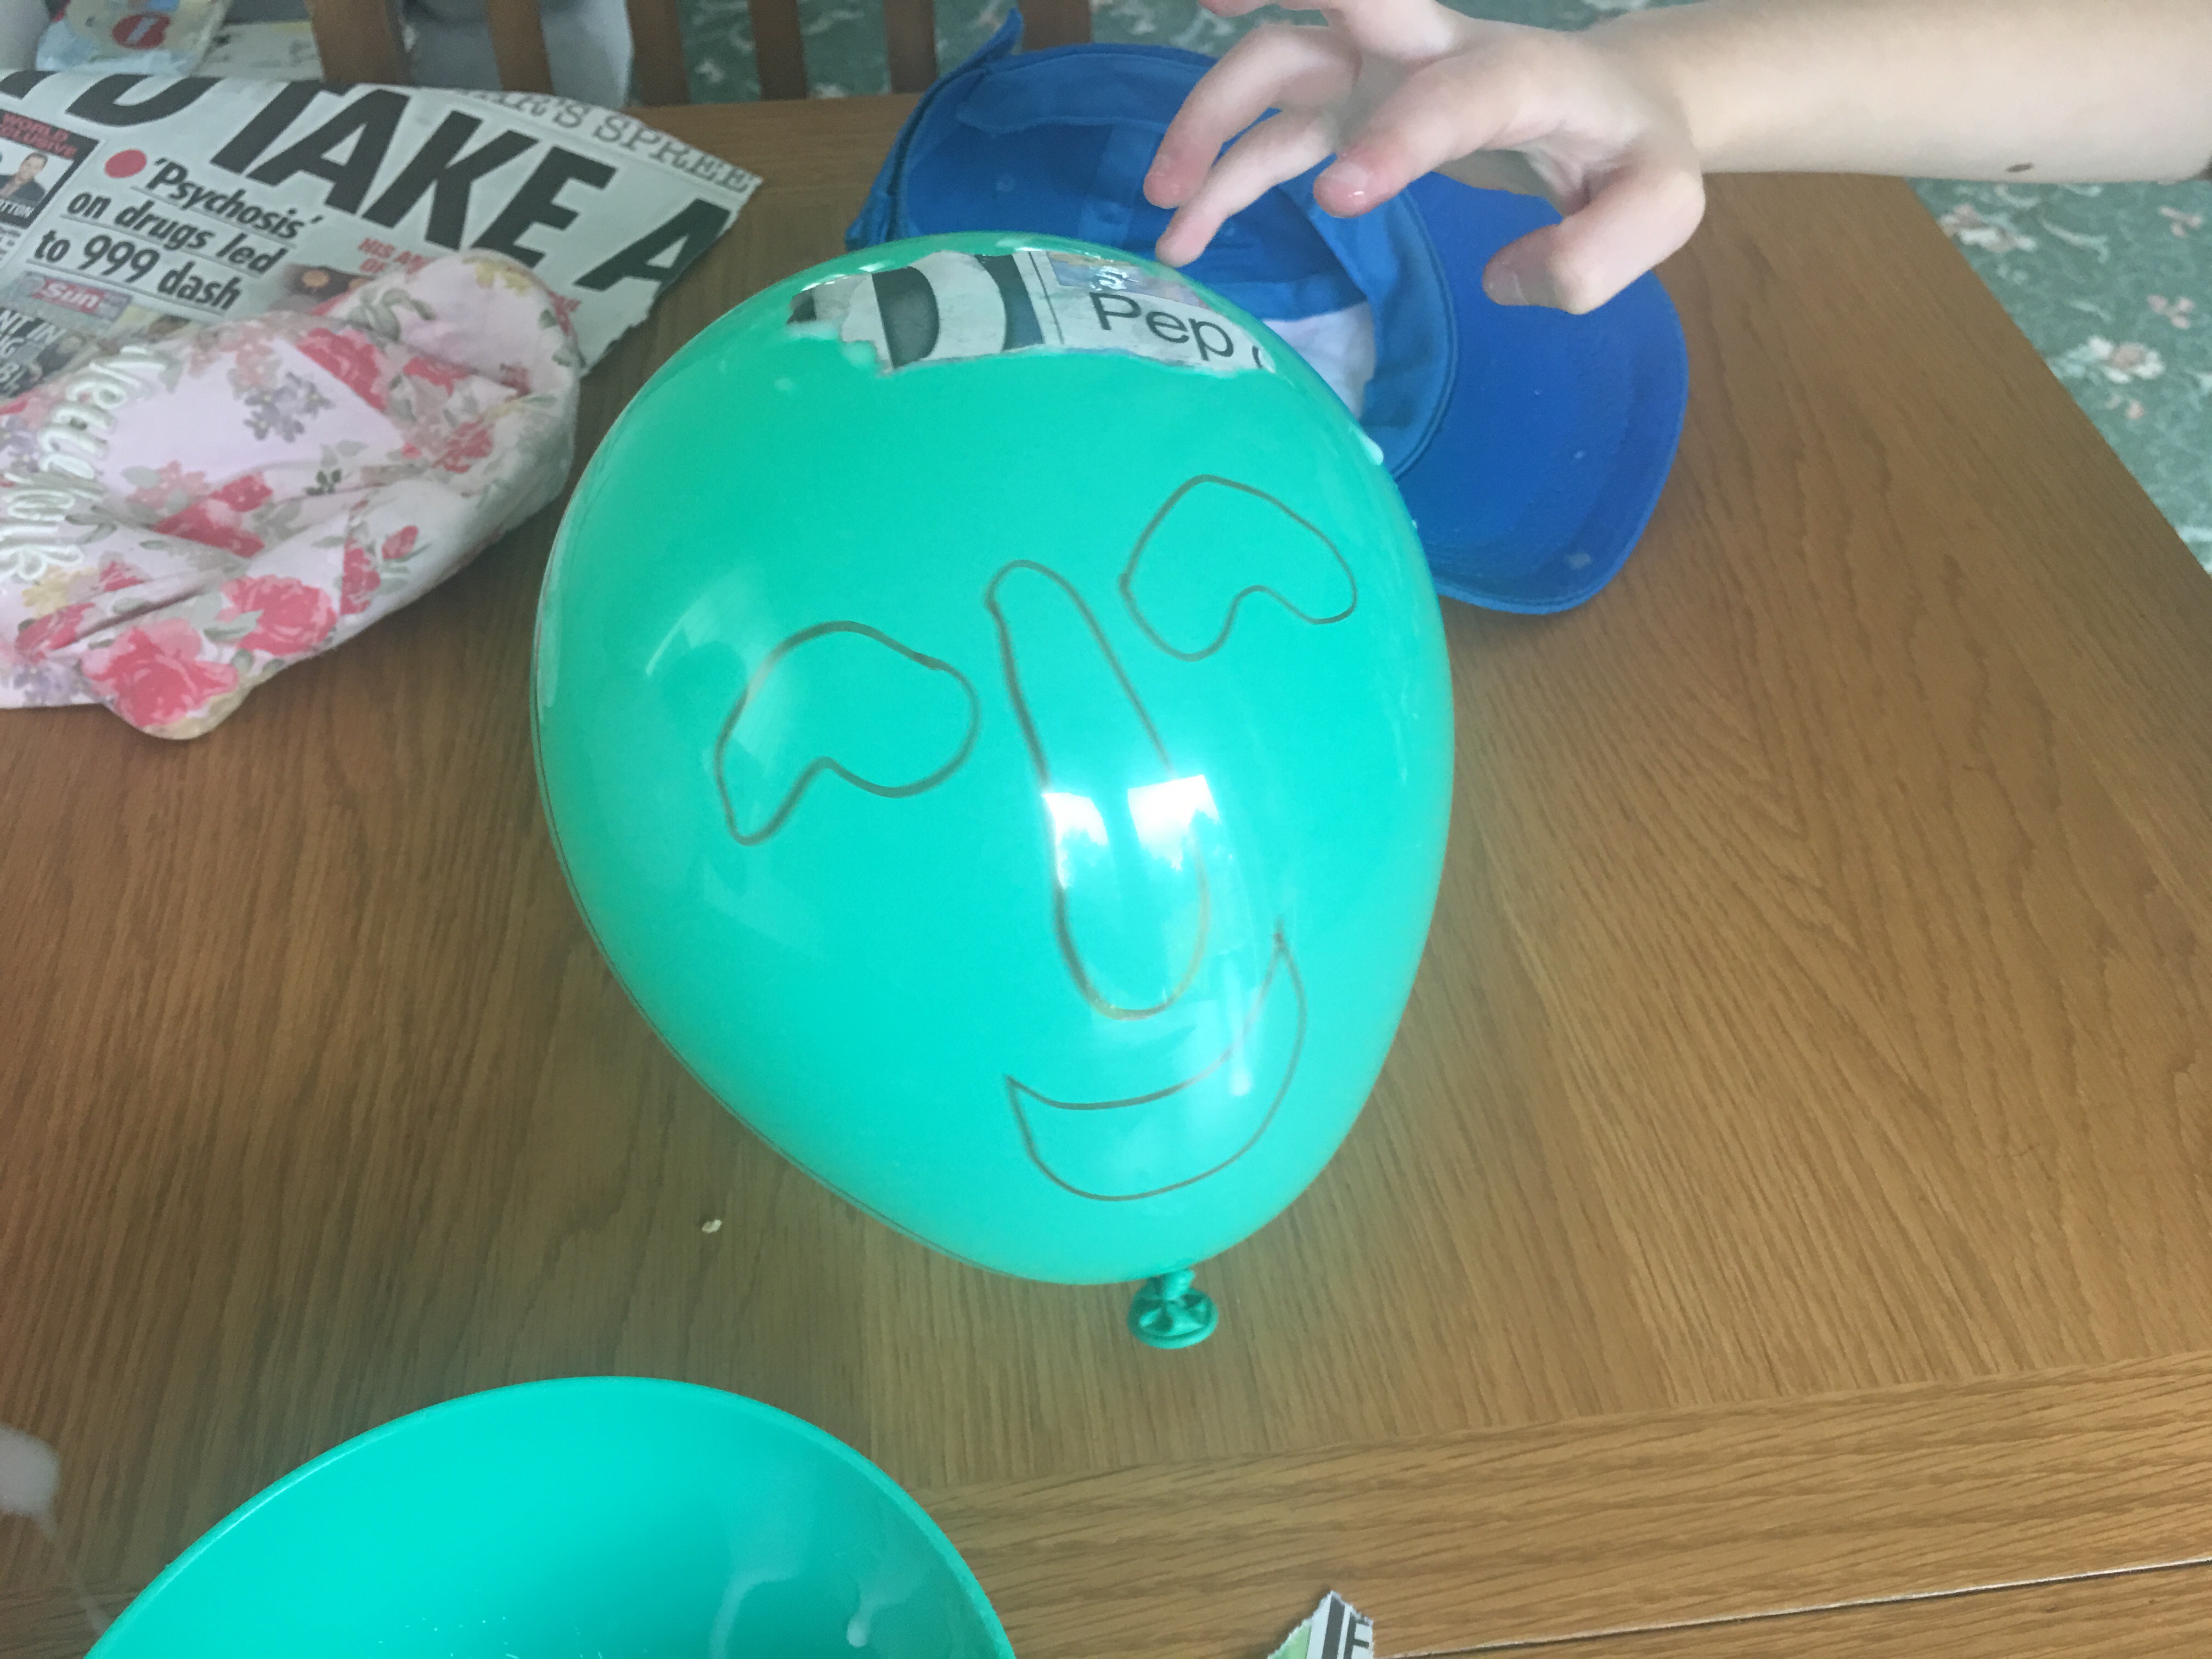
The first thing you’ll need to do is blow your balloon up and then draw on some eyes, a nose and a mouth.
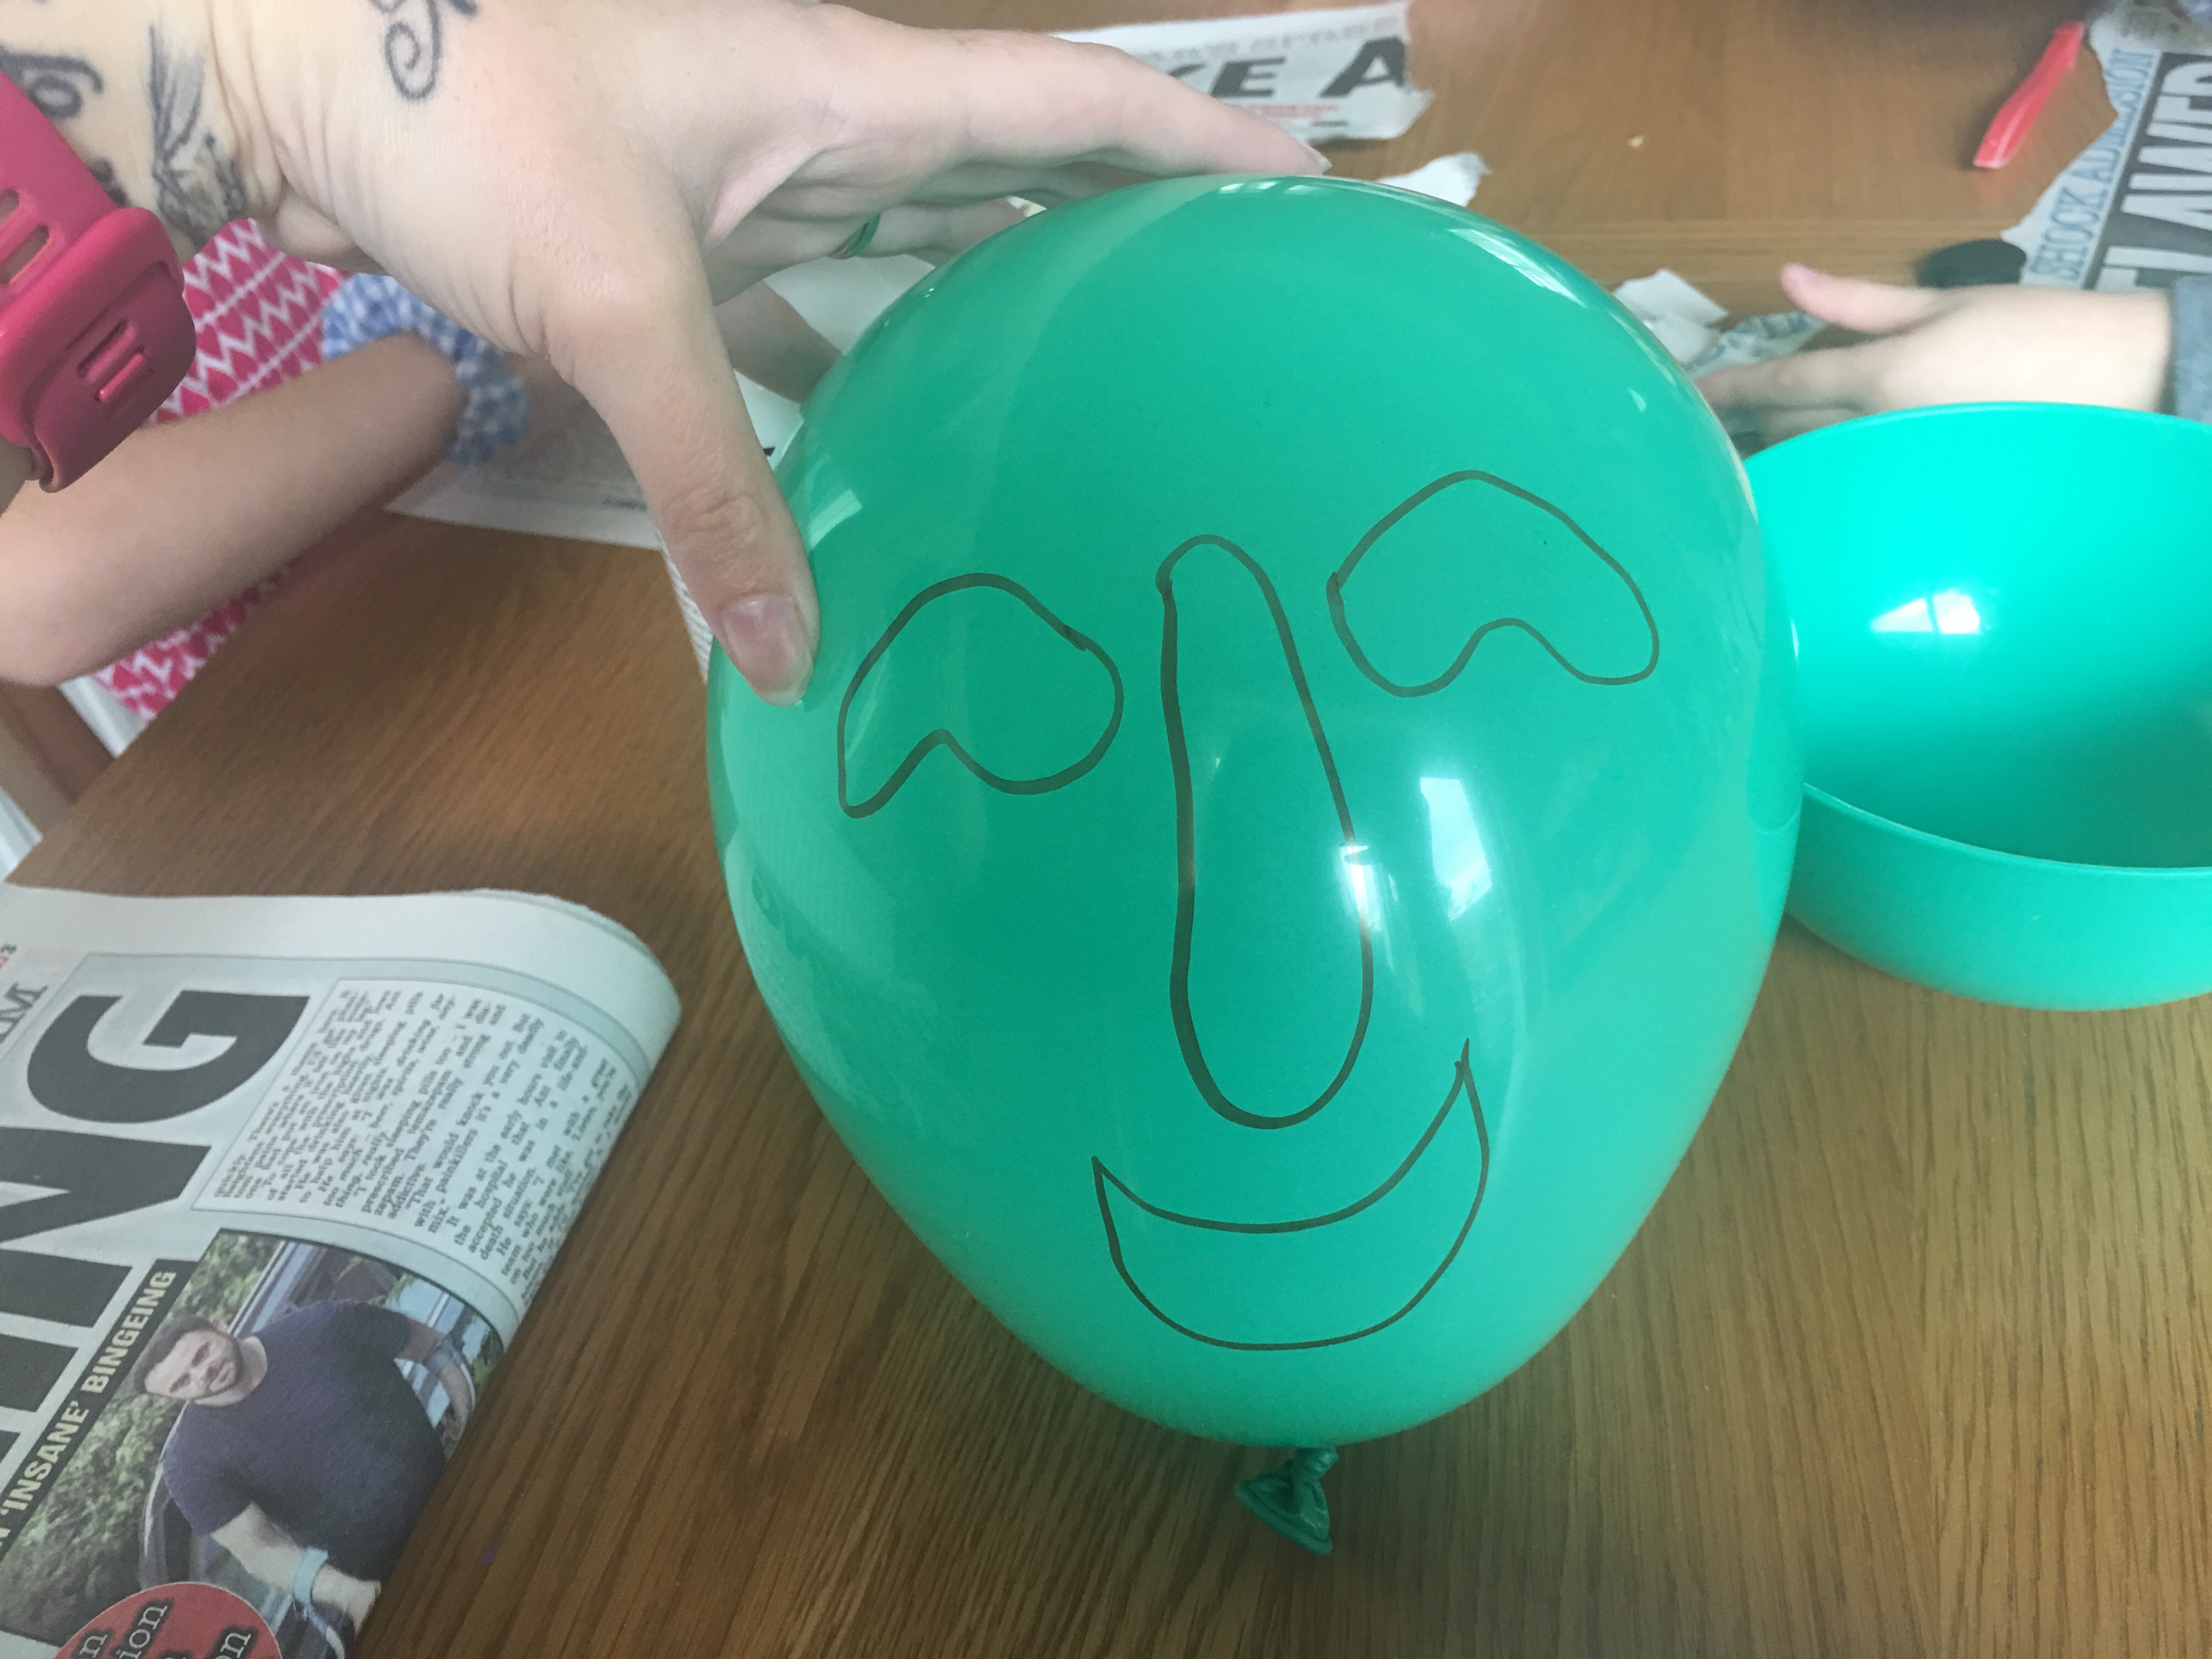
Then get the kids to rip up a few sheets of newspaper into strips.
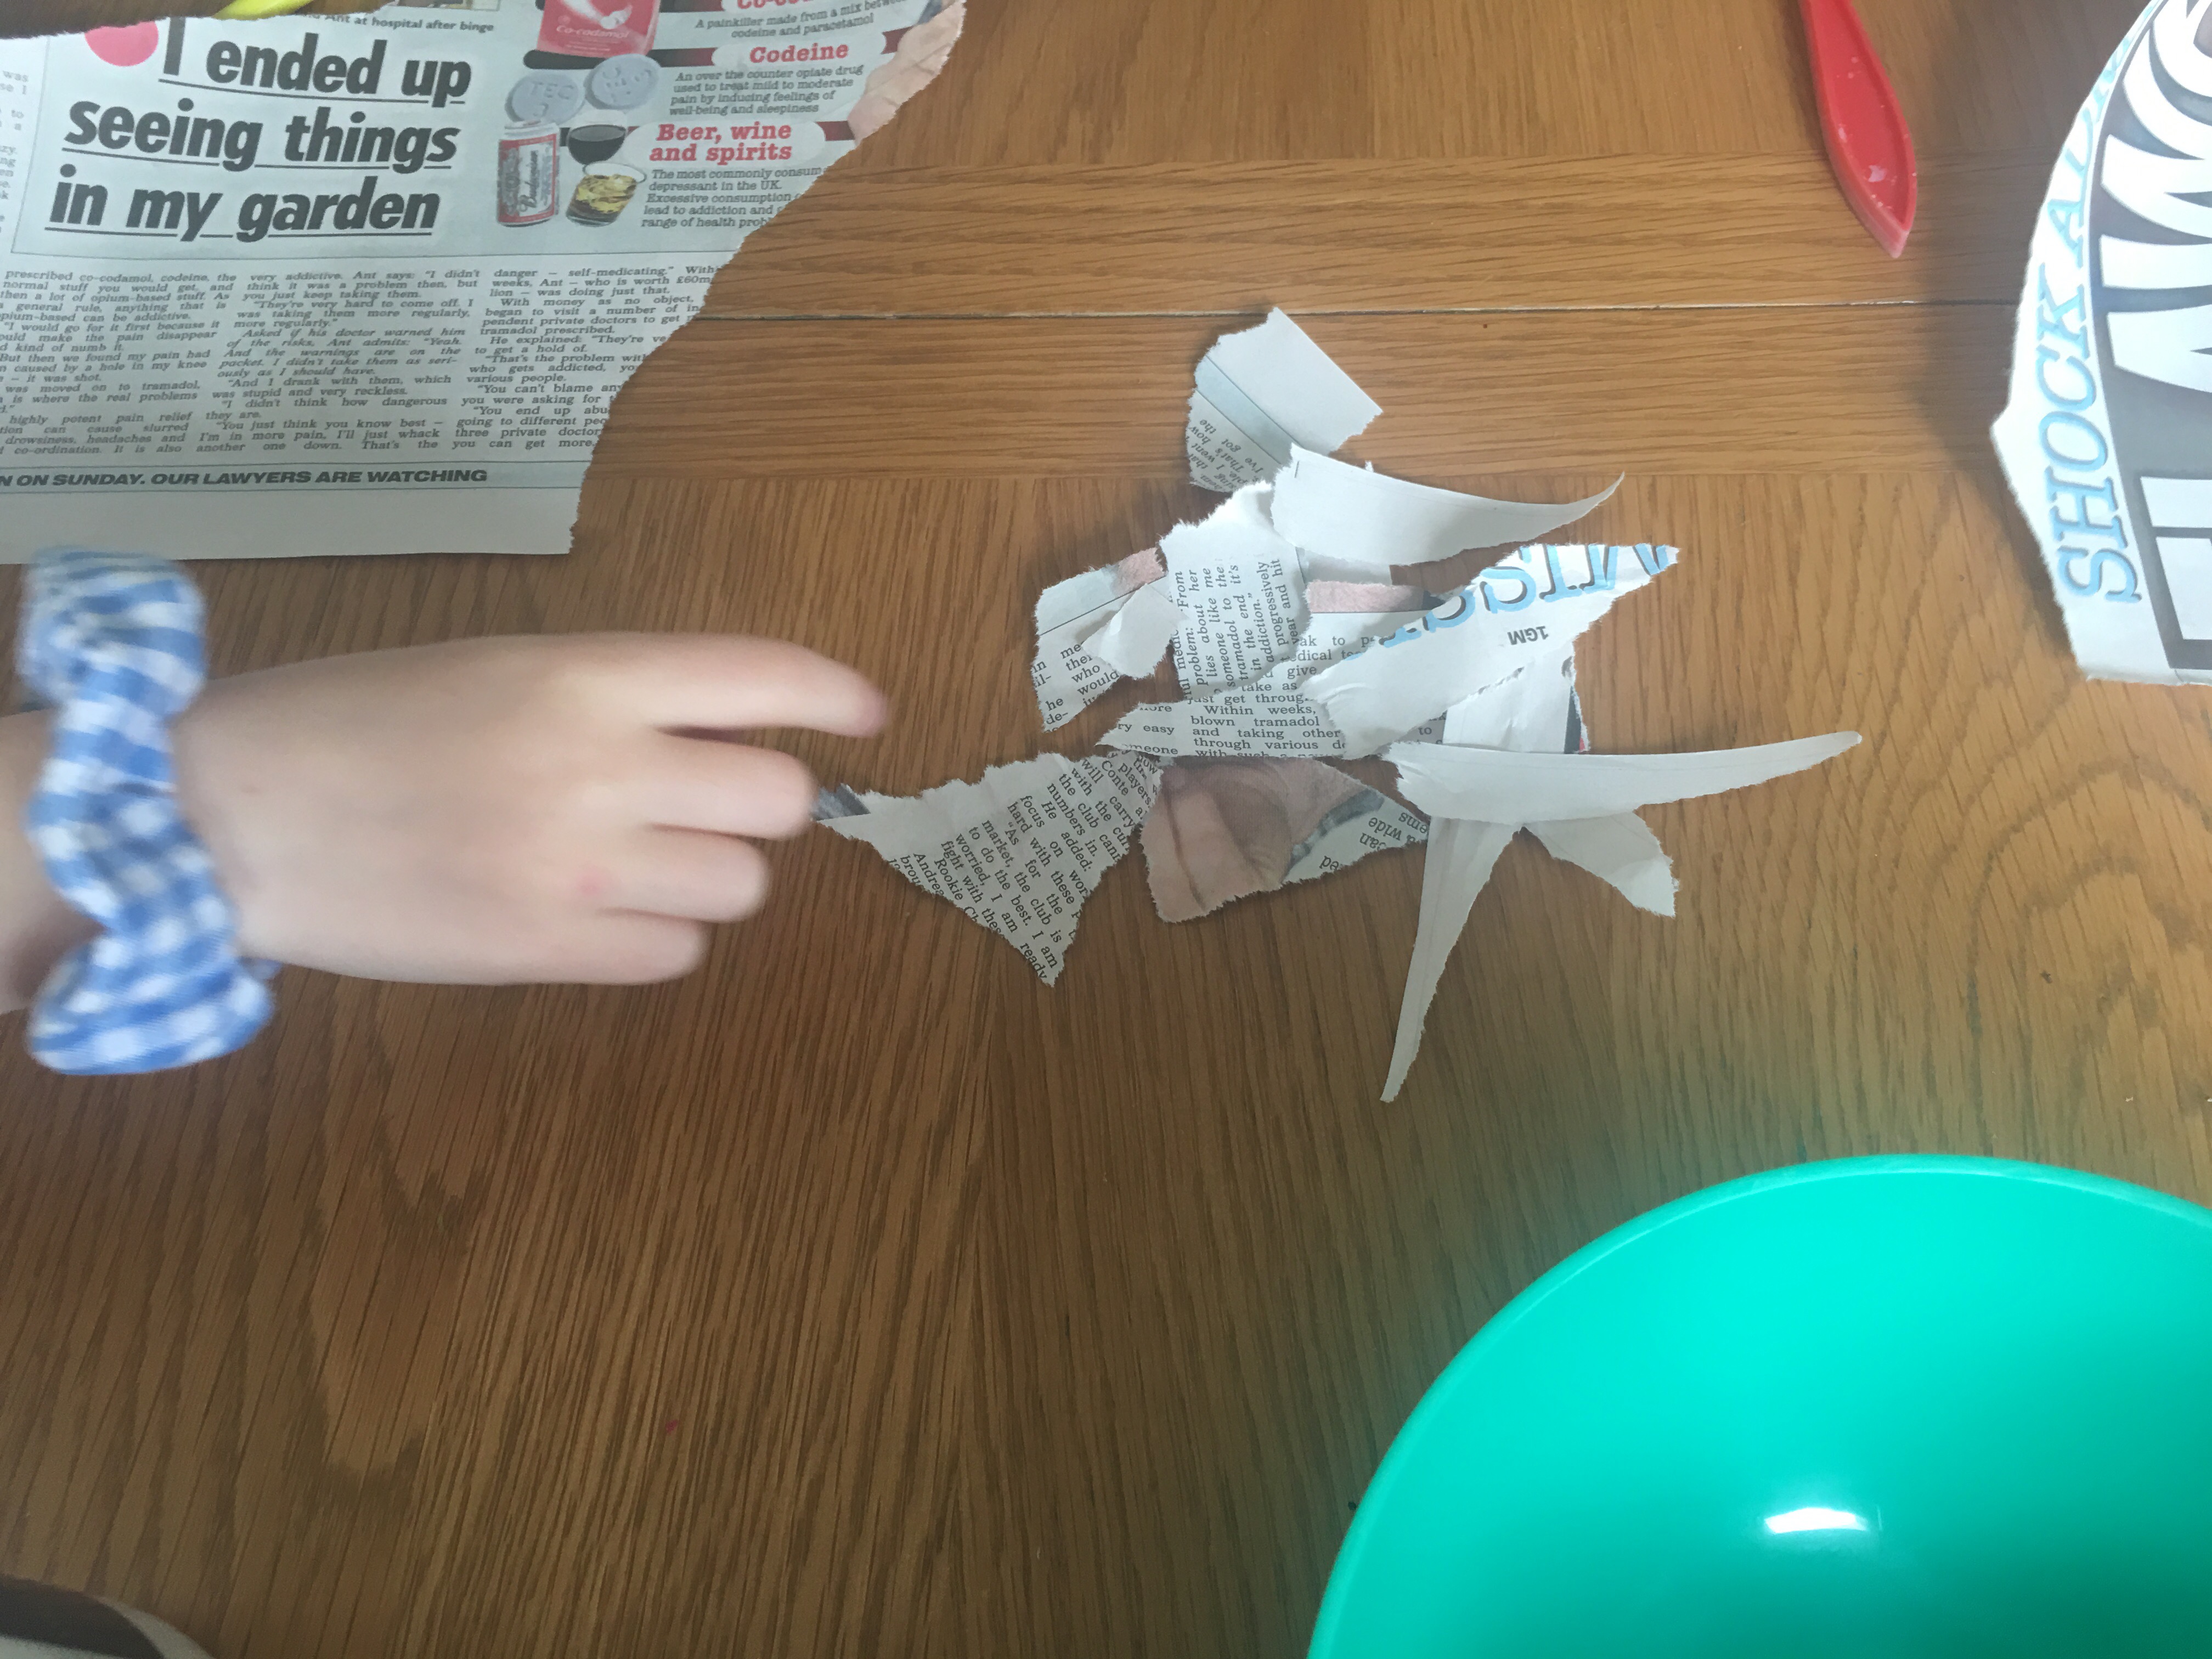
Whilst the kids are busy ripping the newspaper up, you’ll need to mix 2 cups of PVA glue with 1 cup of water in a bowl.

Now for the fun part! You can either use a paintbrush to paint the glue onto your balloon, or your children can simply dip their strips of newspaper into the glue and water mix before directly applying them to their balloon. Just make sure they don’t cover the eyes or mouth.


We want the nose to stick out and be prominent, so simply build the nose up with a few layers of newspaper folded up.
You’ll then need to let your masks dry.
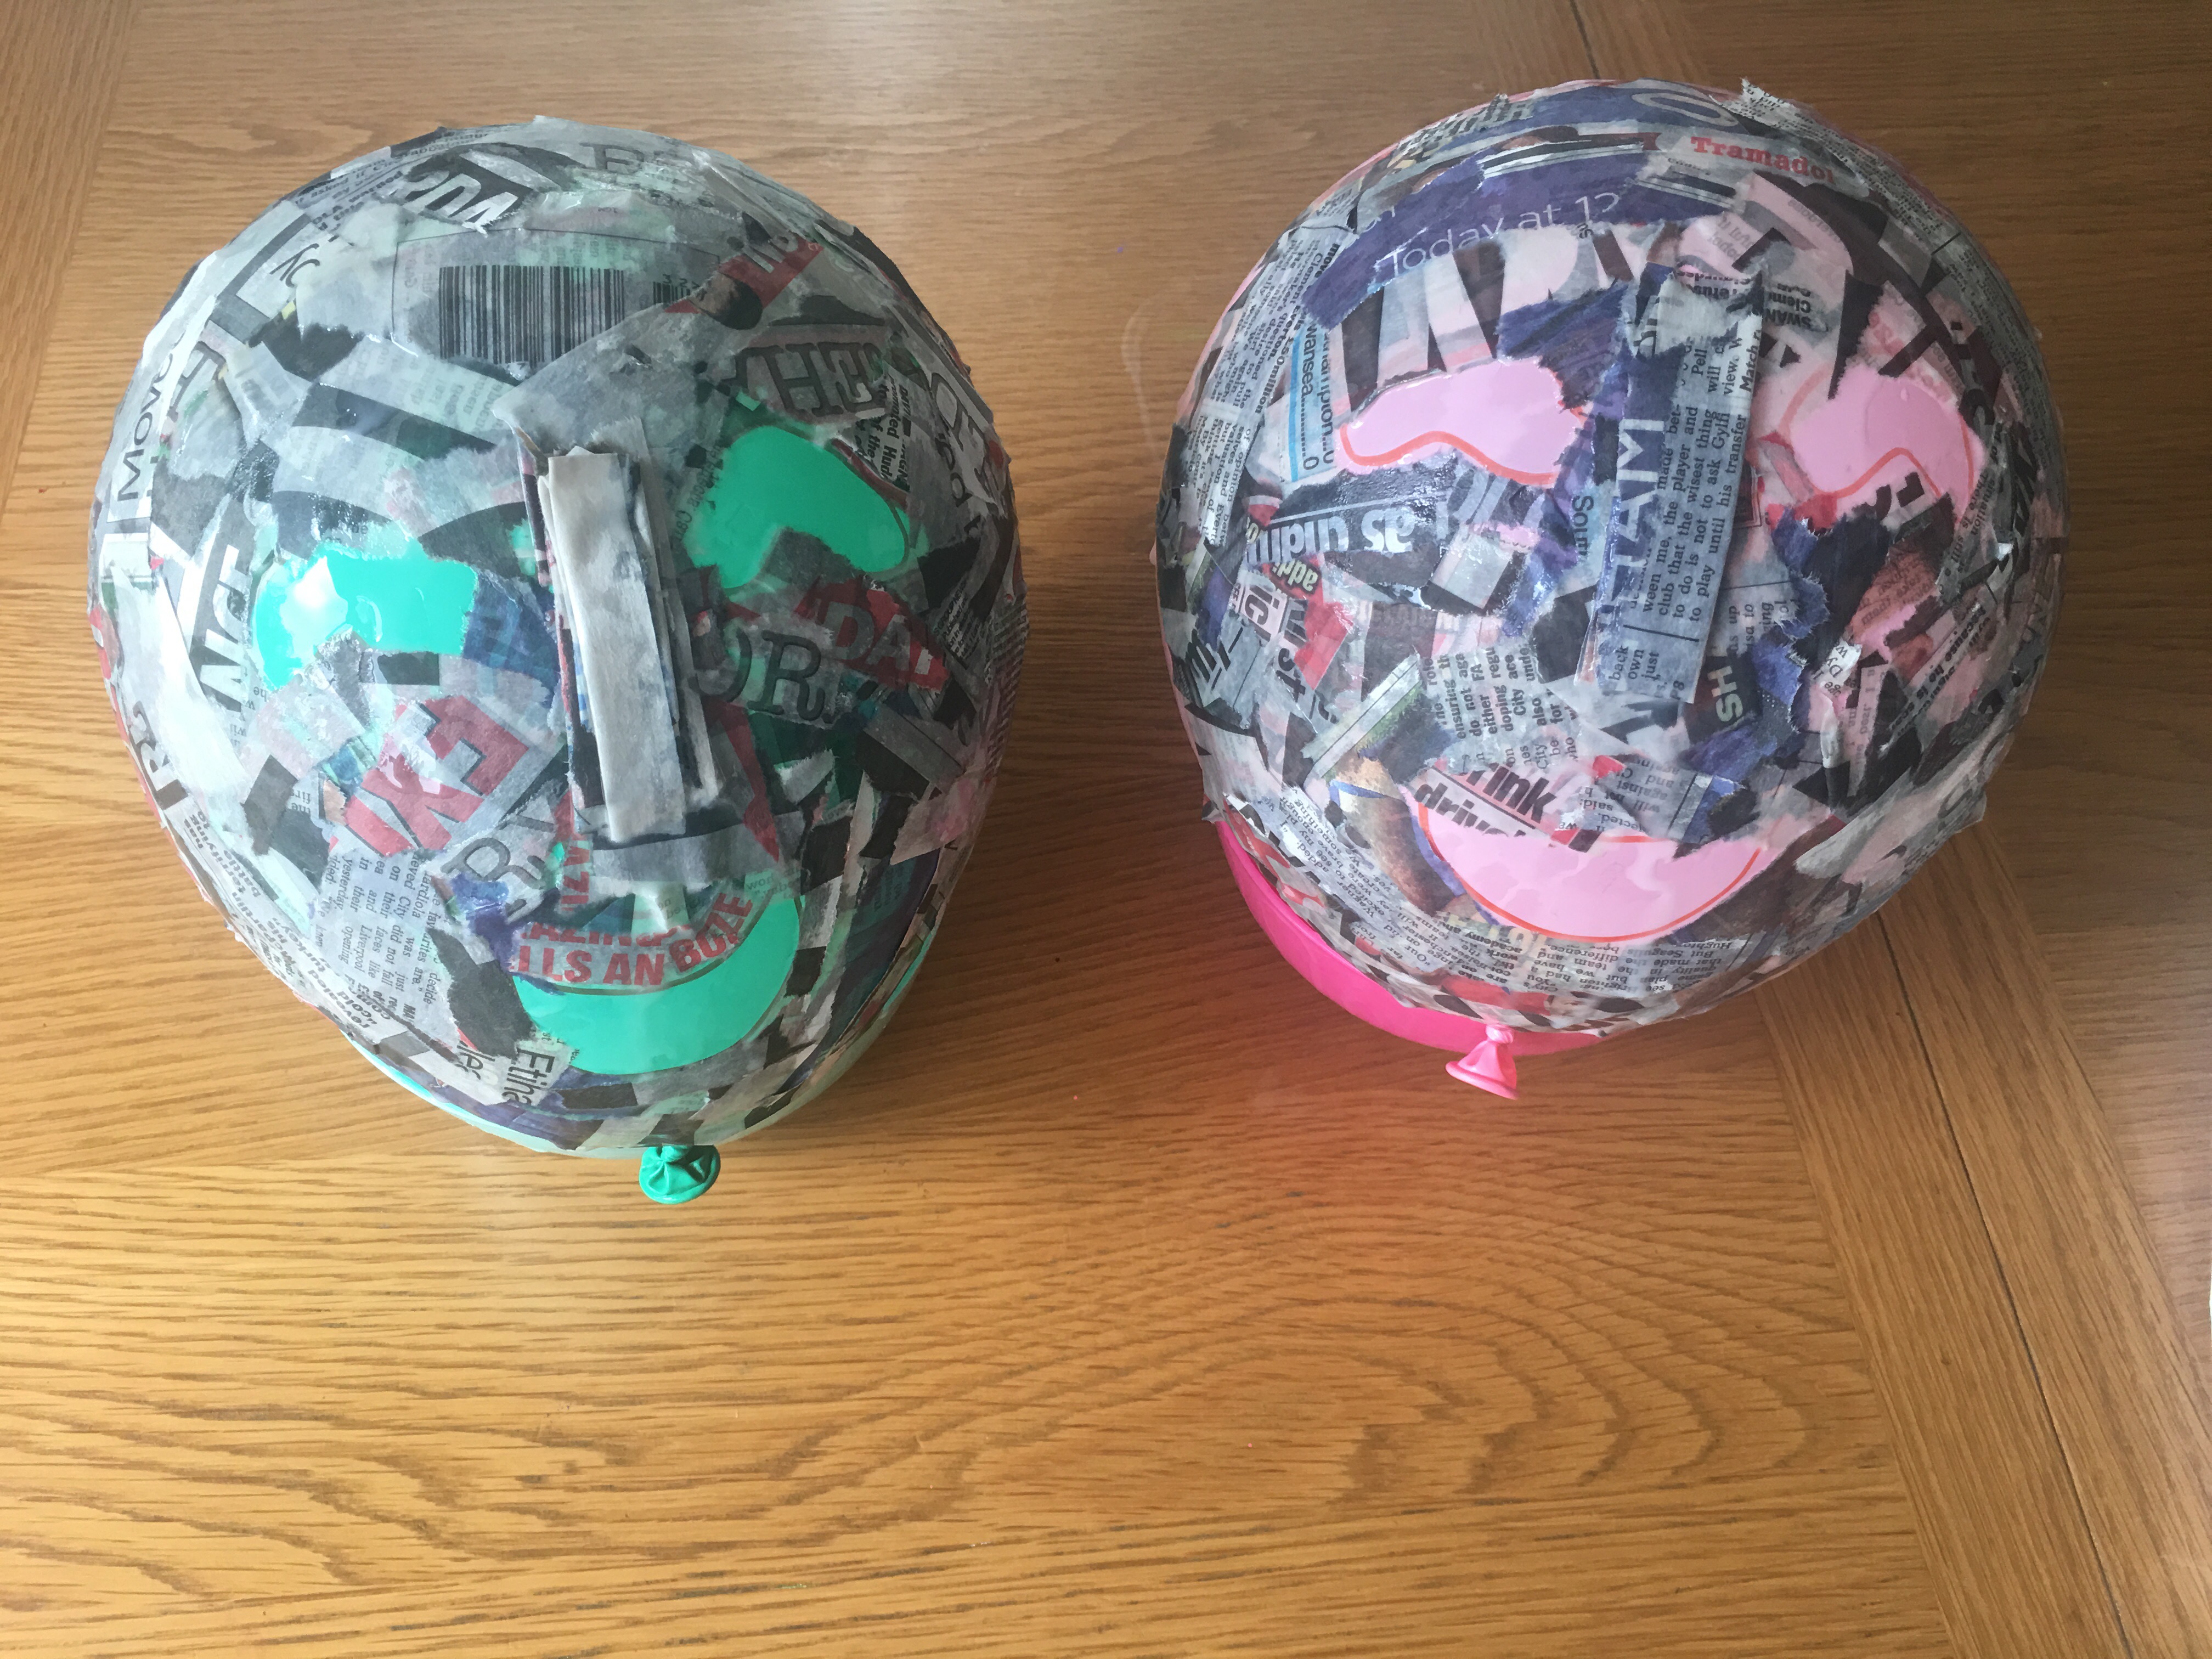
Once your masks are completely dry, it’s time to add another layer of newspaper, which again, you’ll need to leave to dry completely.
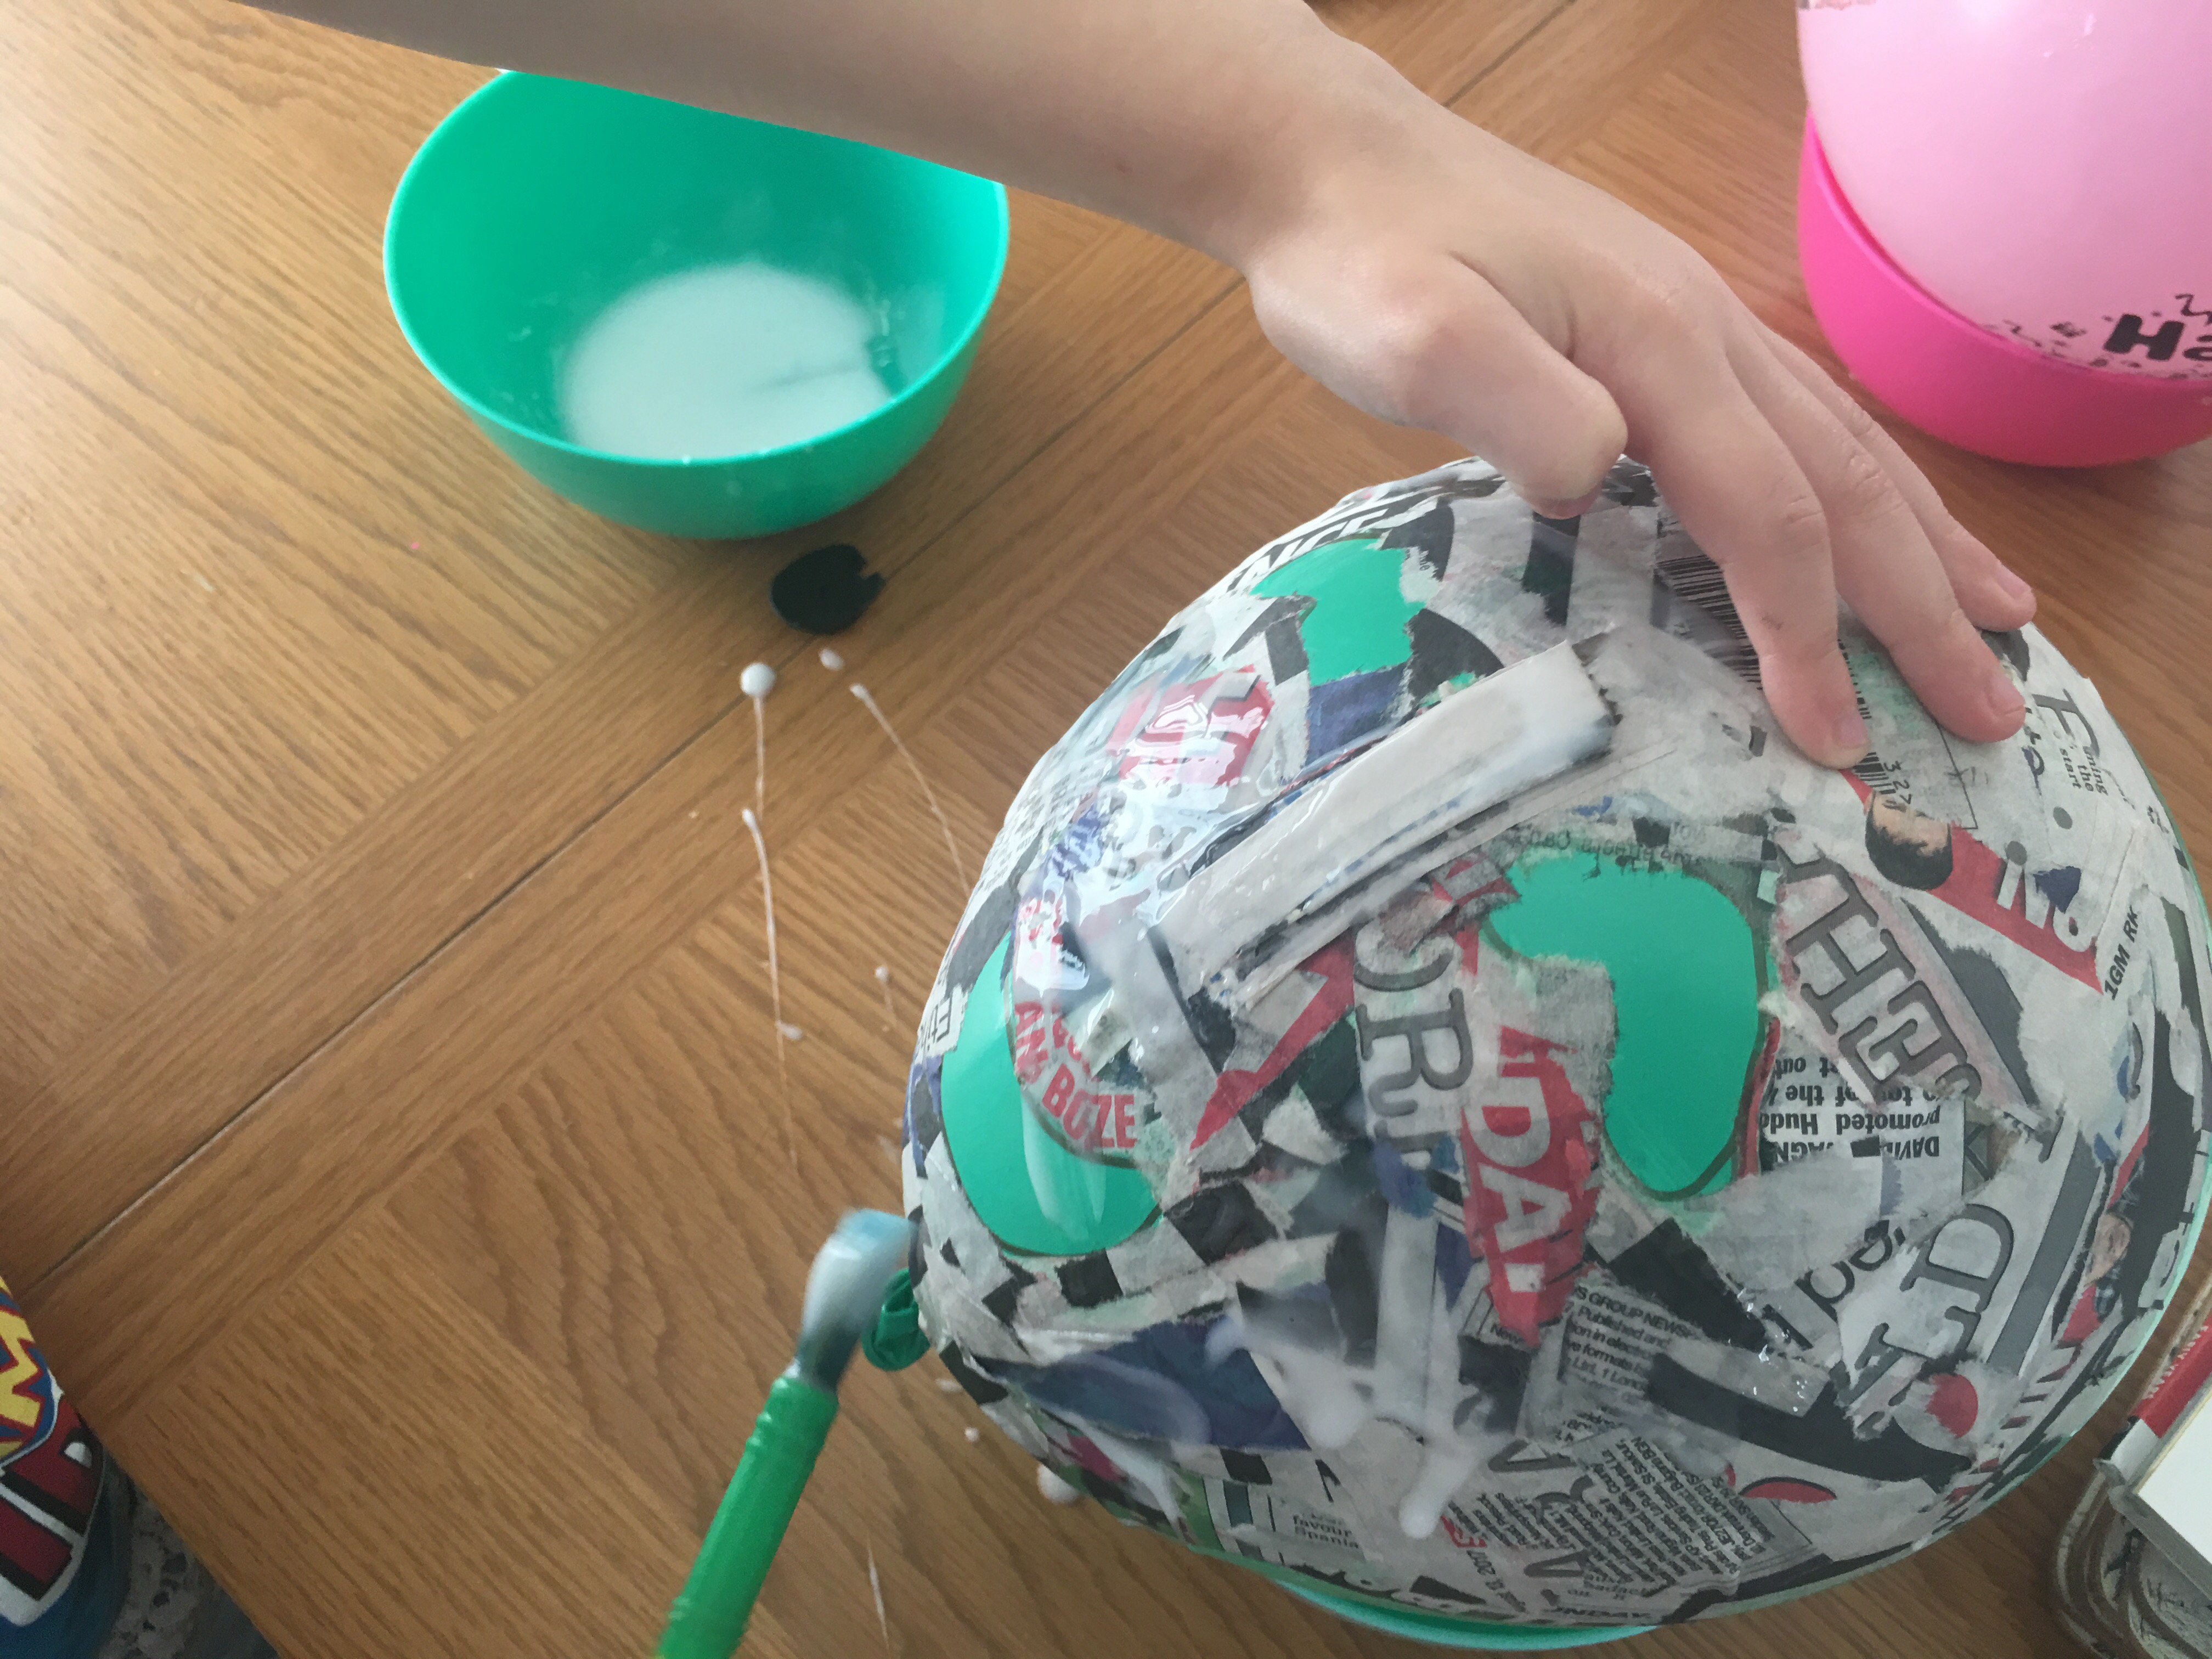
When your second layer of newspaper is completely dry, it’s time to rip up some sheets of white plain paper. The plain paper just makes it easier to paint, as the newspaper will probably show up if you try to paint over it.
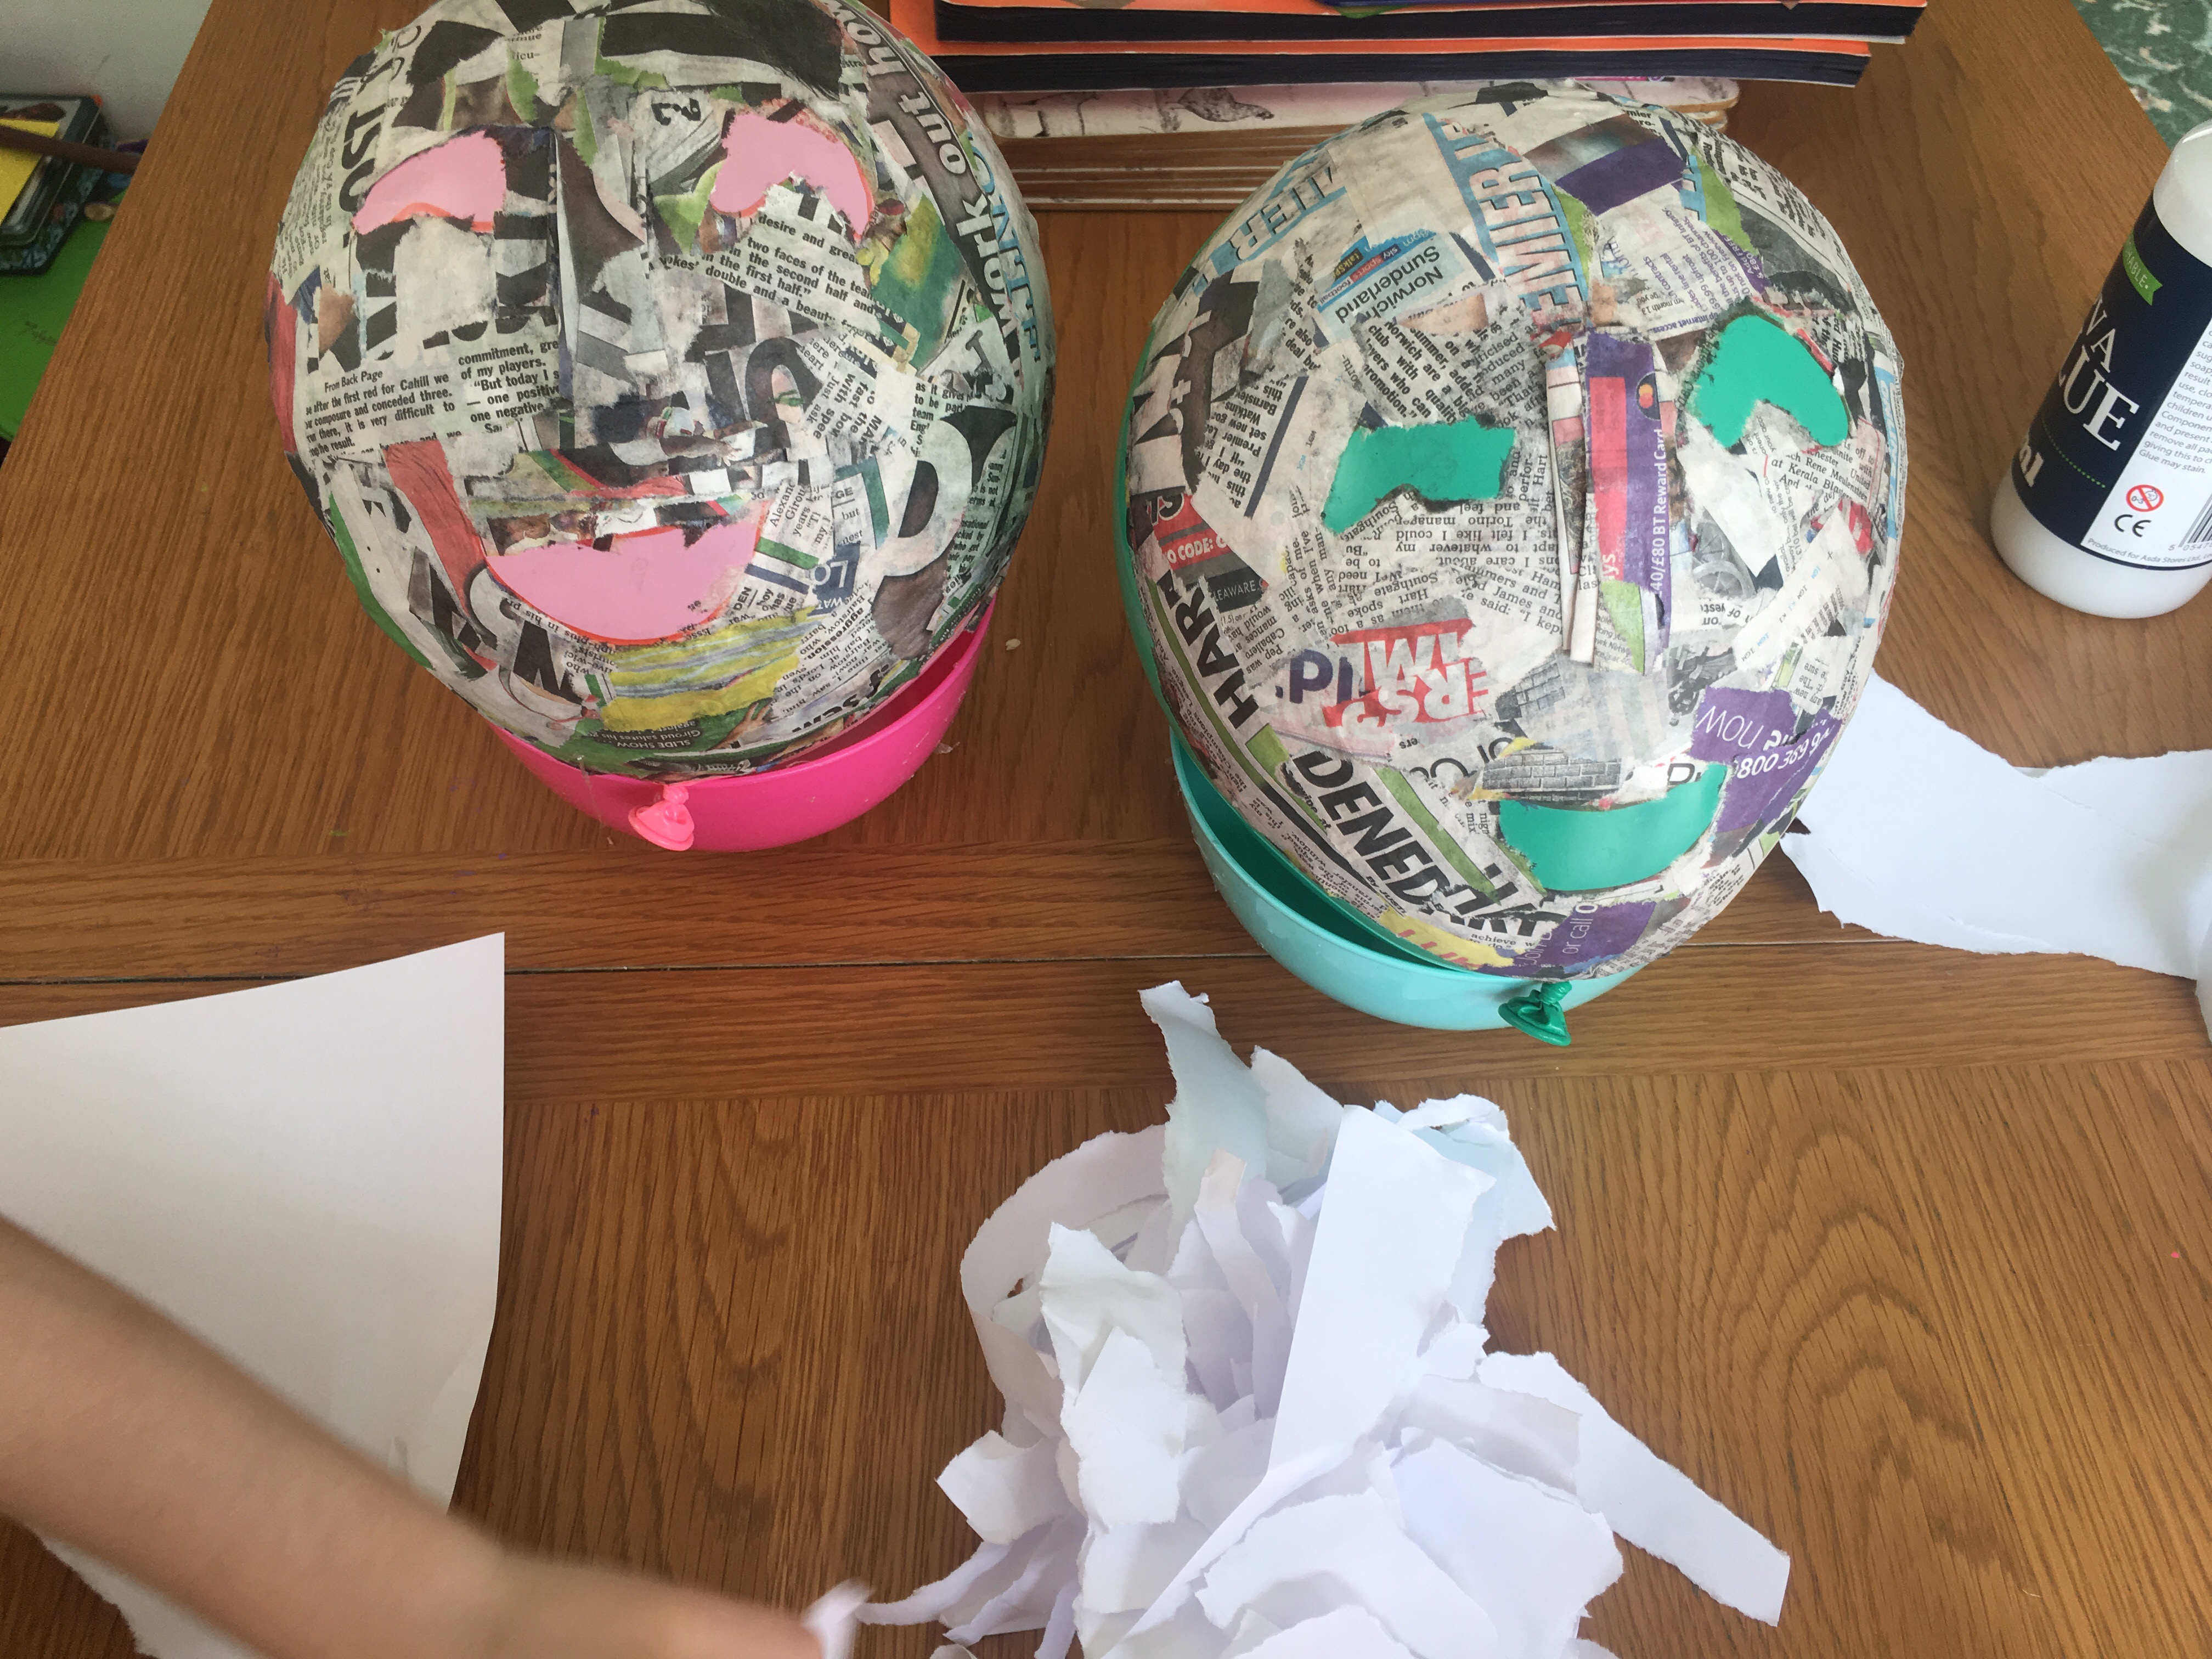
Simply cover your mask with the white paper, again building the nose up and leave to dry completely.

When your masks are dry, simply pop the balloon and it should peel away from your mark pretty easily. Now, we can get decorating. They look pretty creepy if we just leave them white!

I bought some crayons metallic paint and paintbrushes.

The girls chose one base colour each and started to paint their masks. I thought they may have needed two coats, but one was more than sufficient.
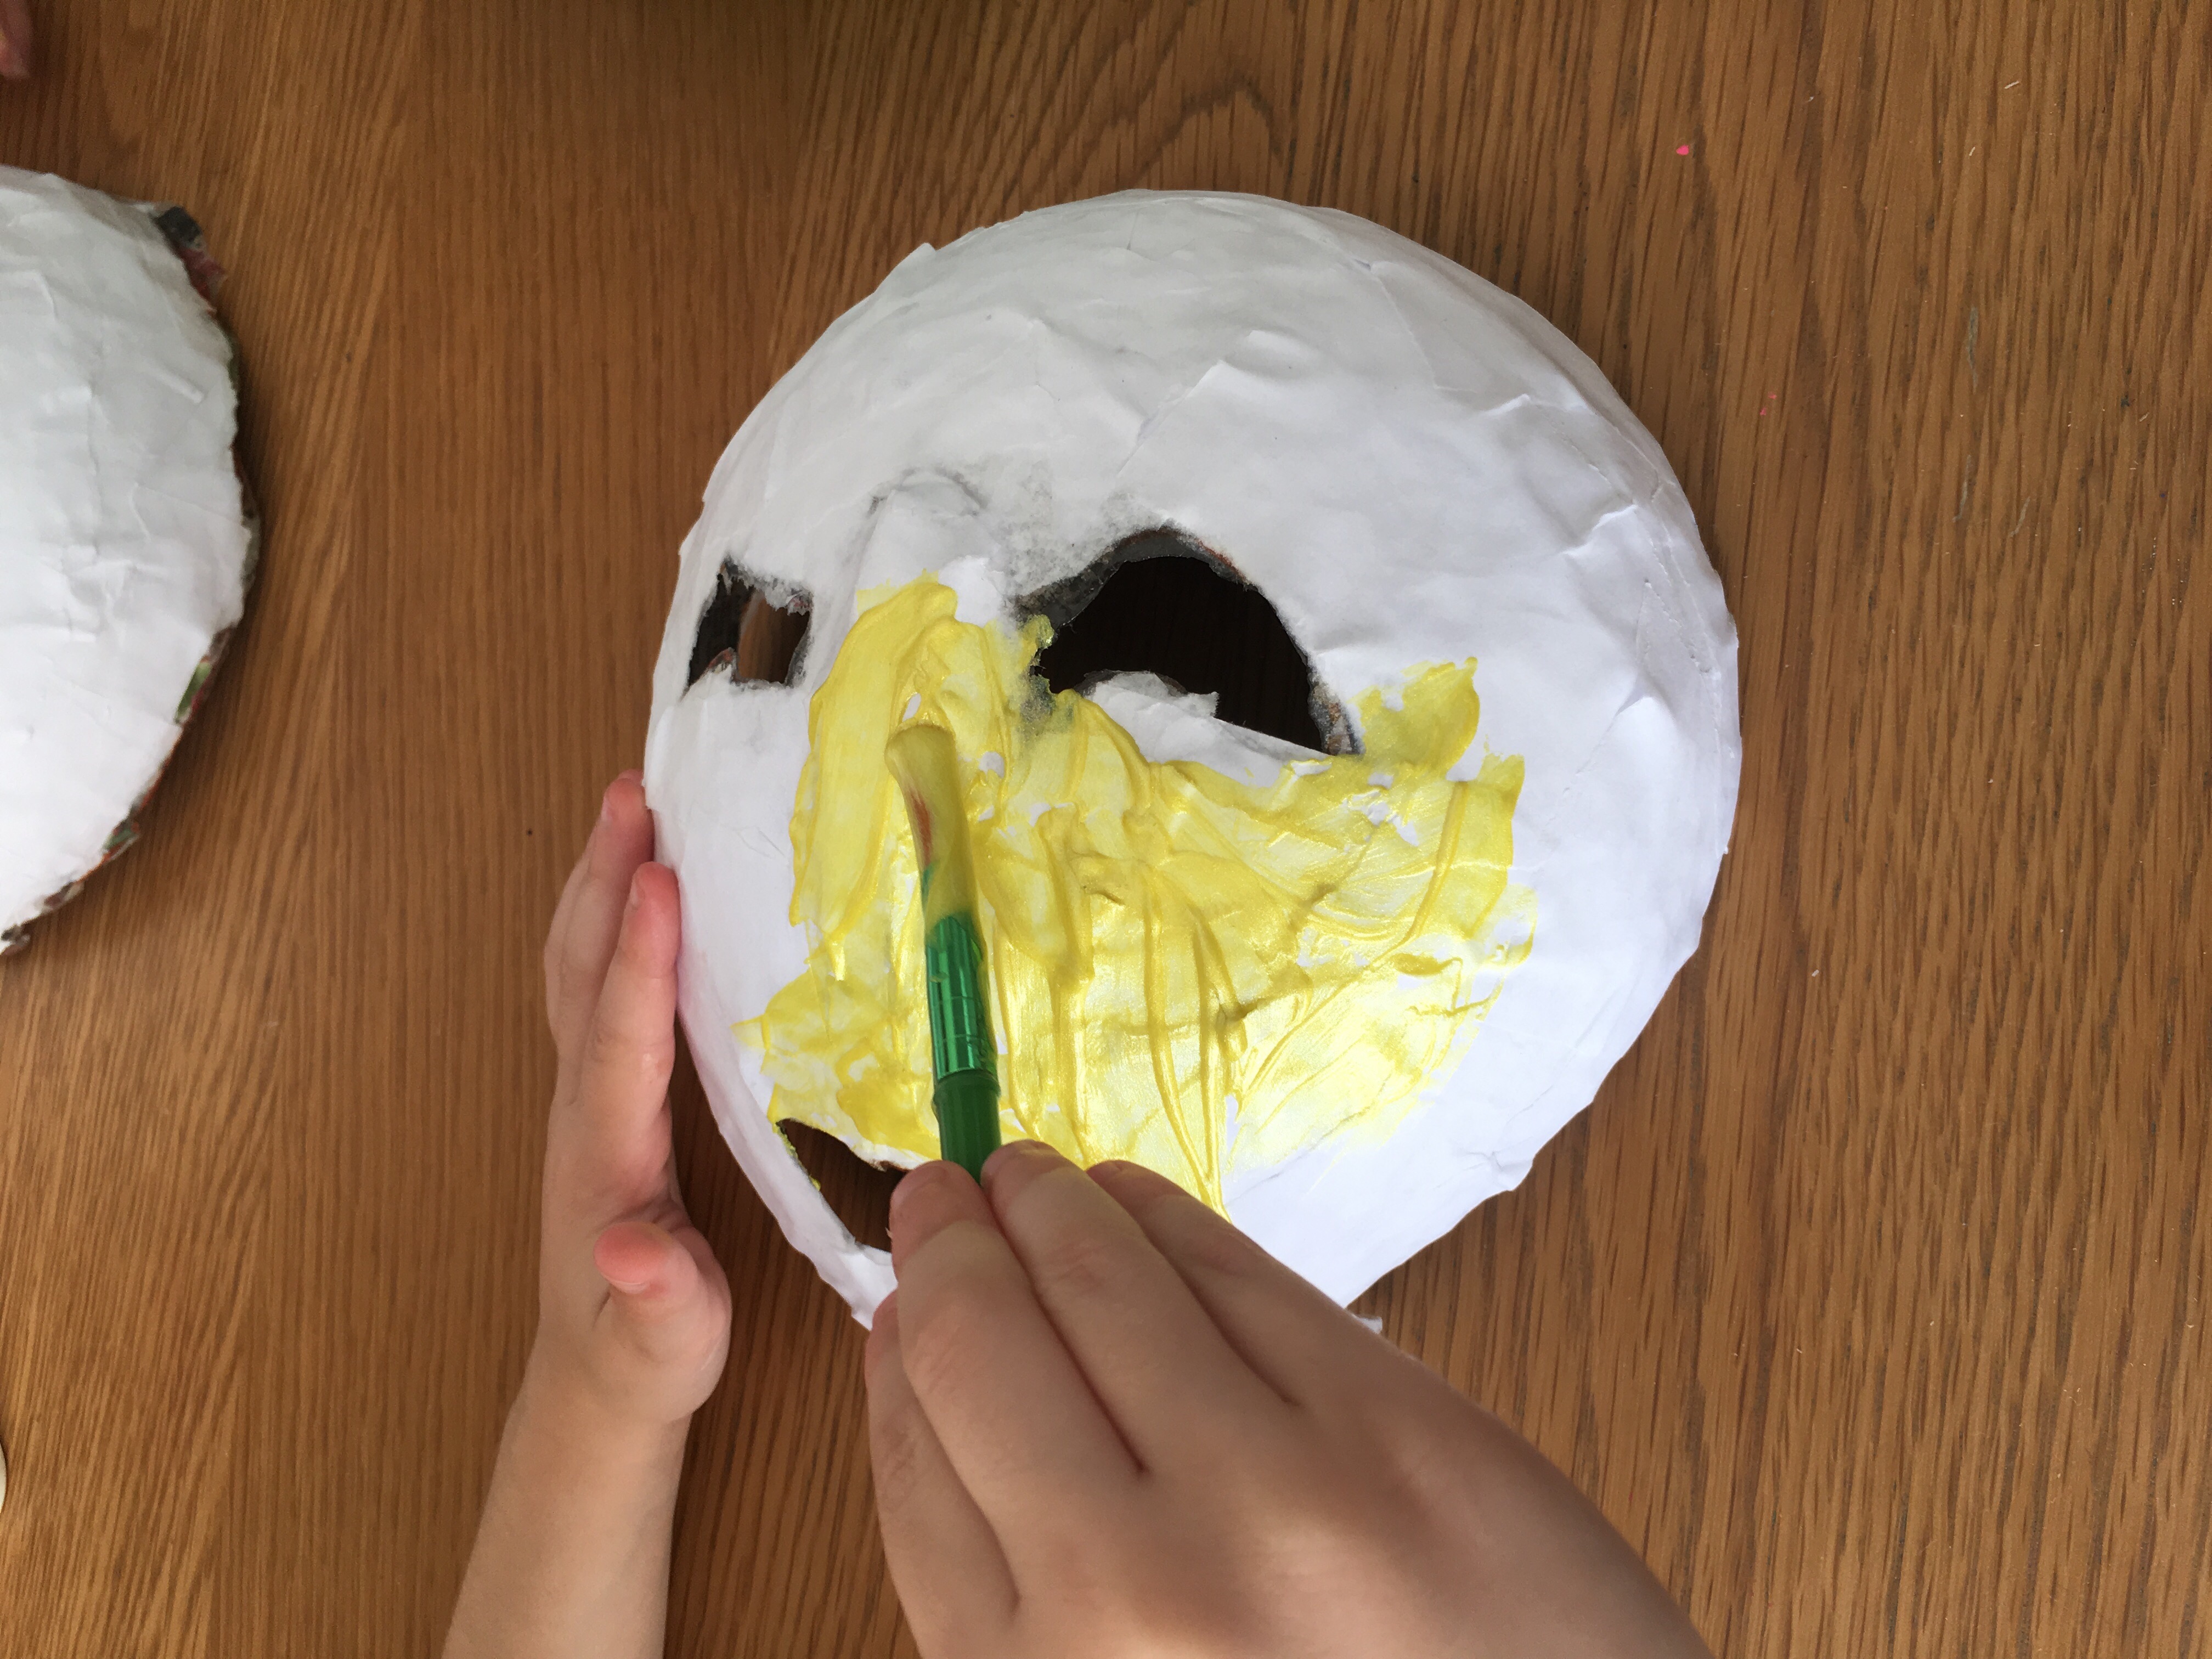
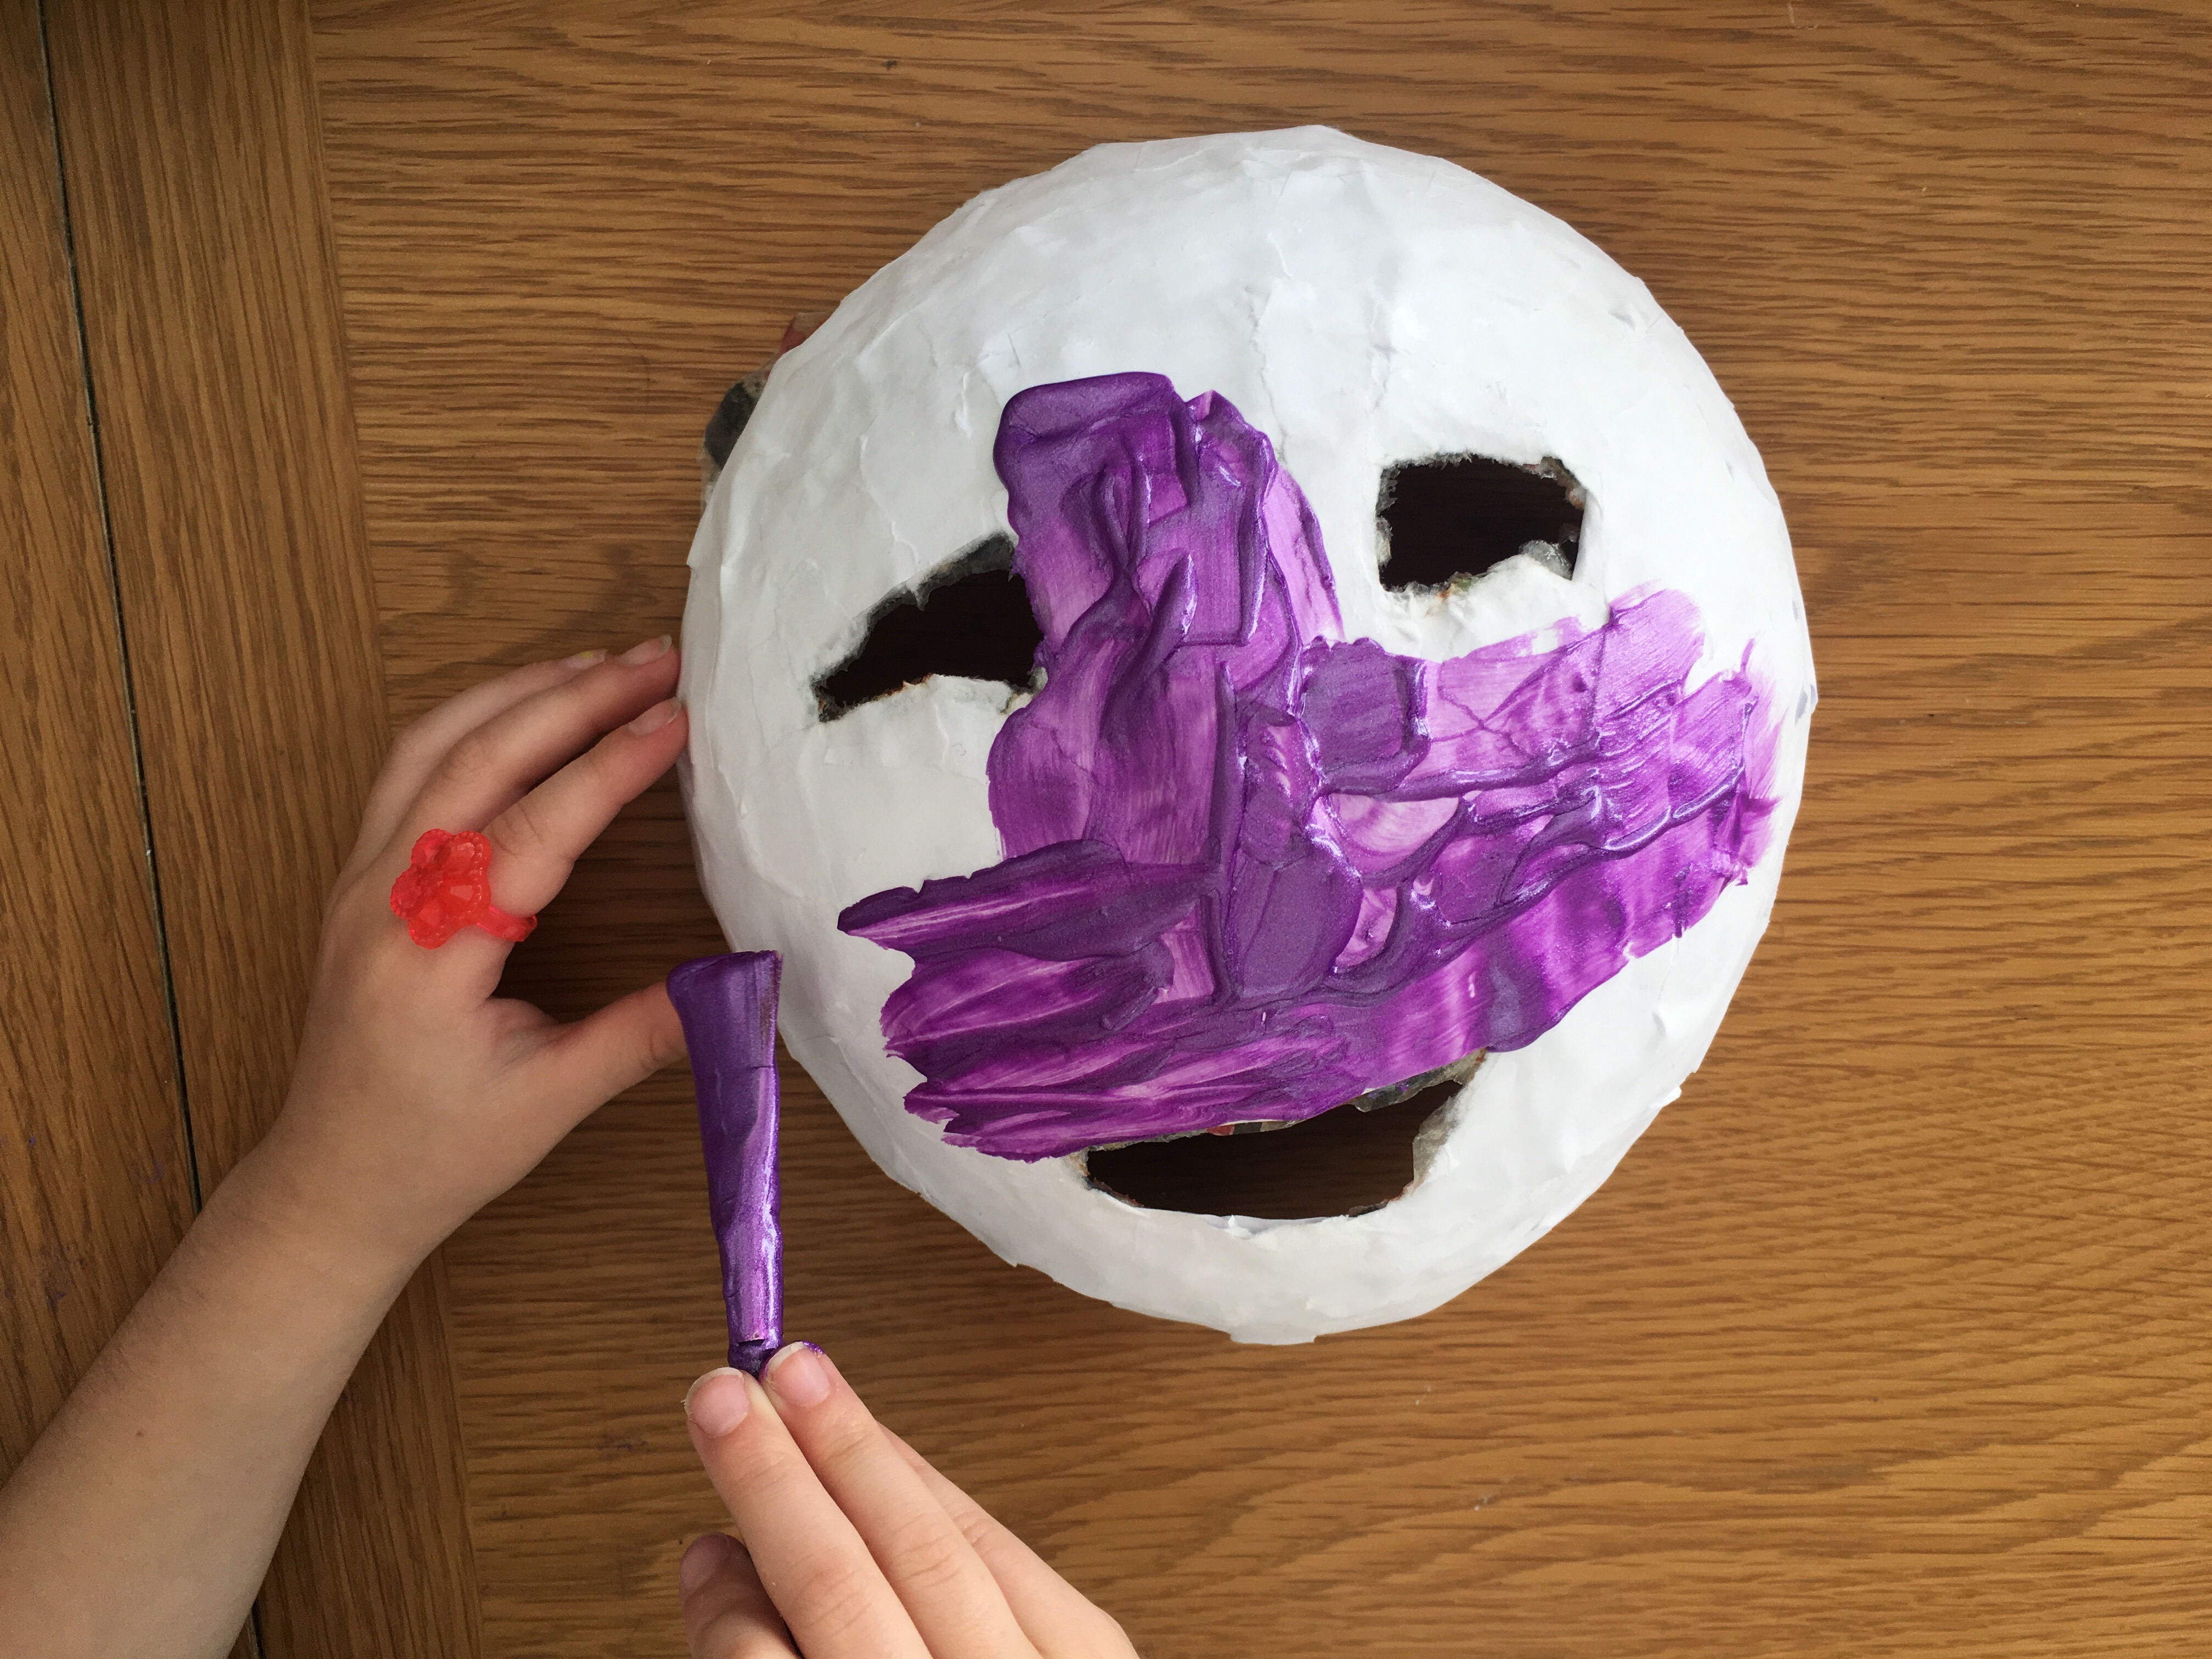
We then let our masks dry before adding some more detail.

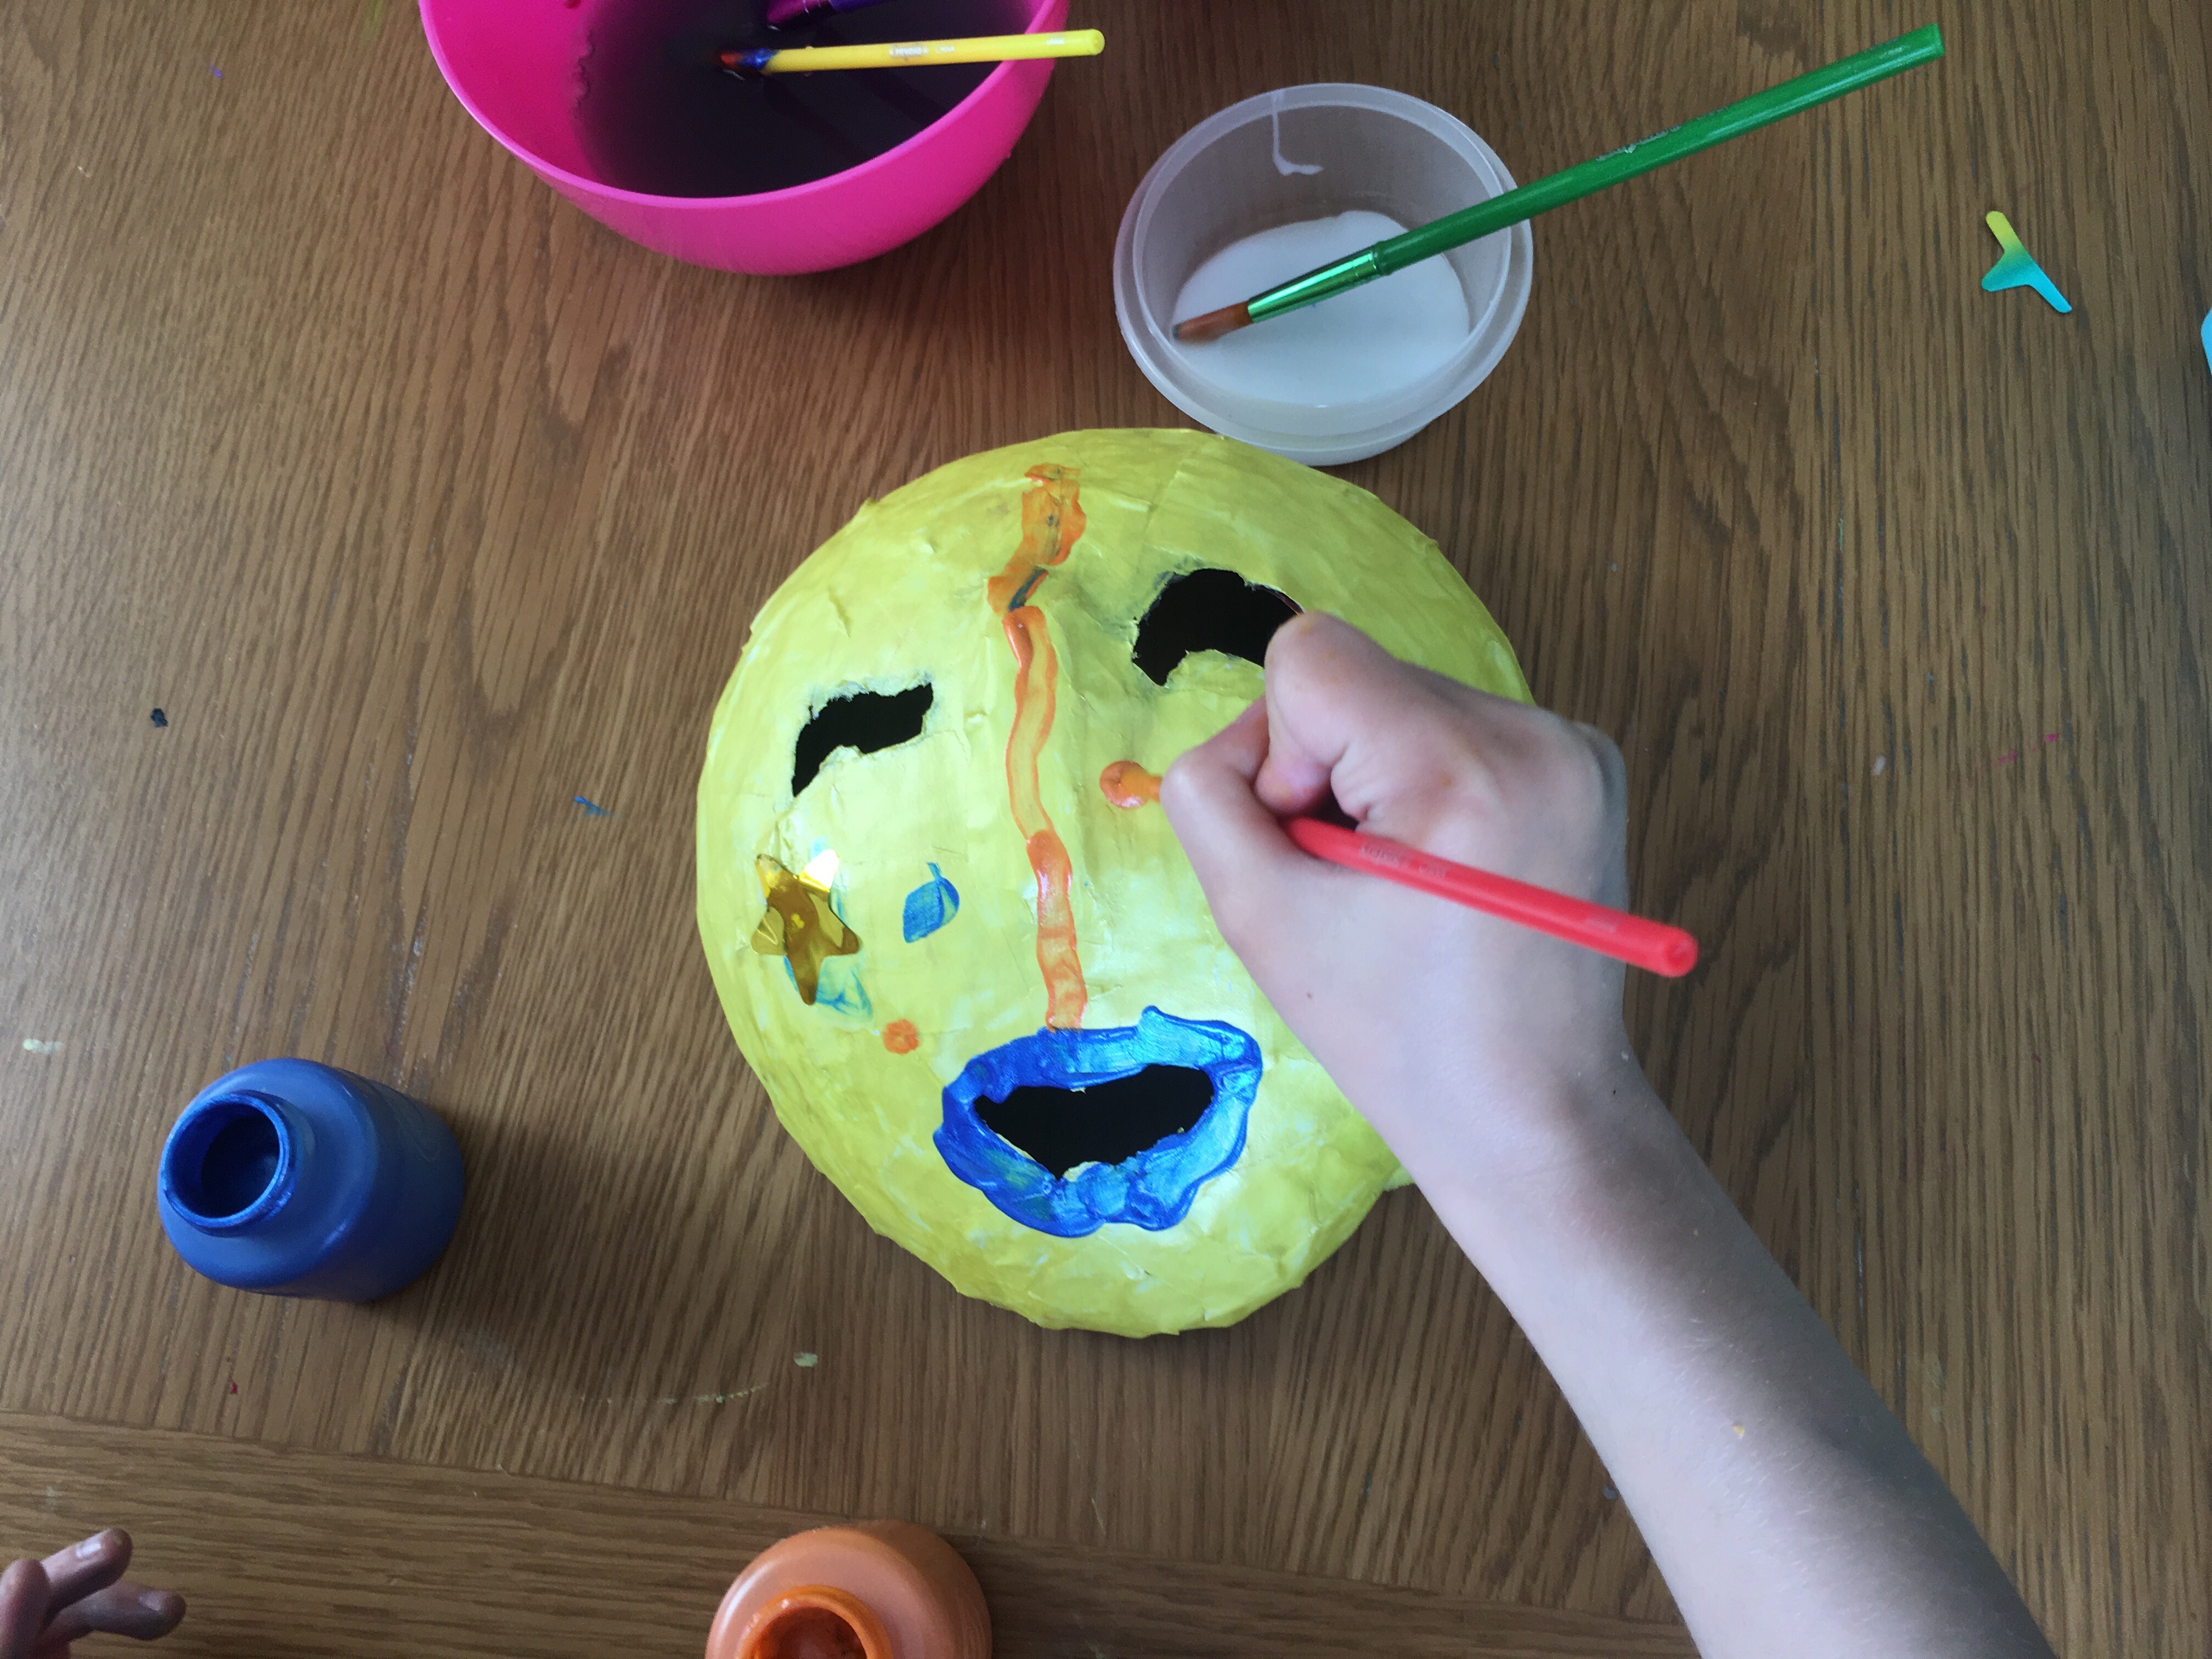
We also used some glitter and stickers.

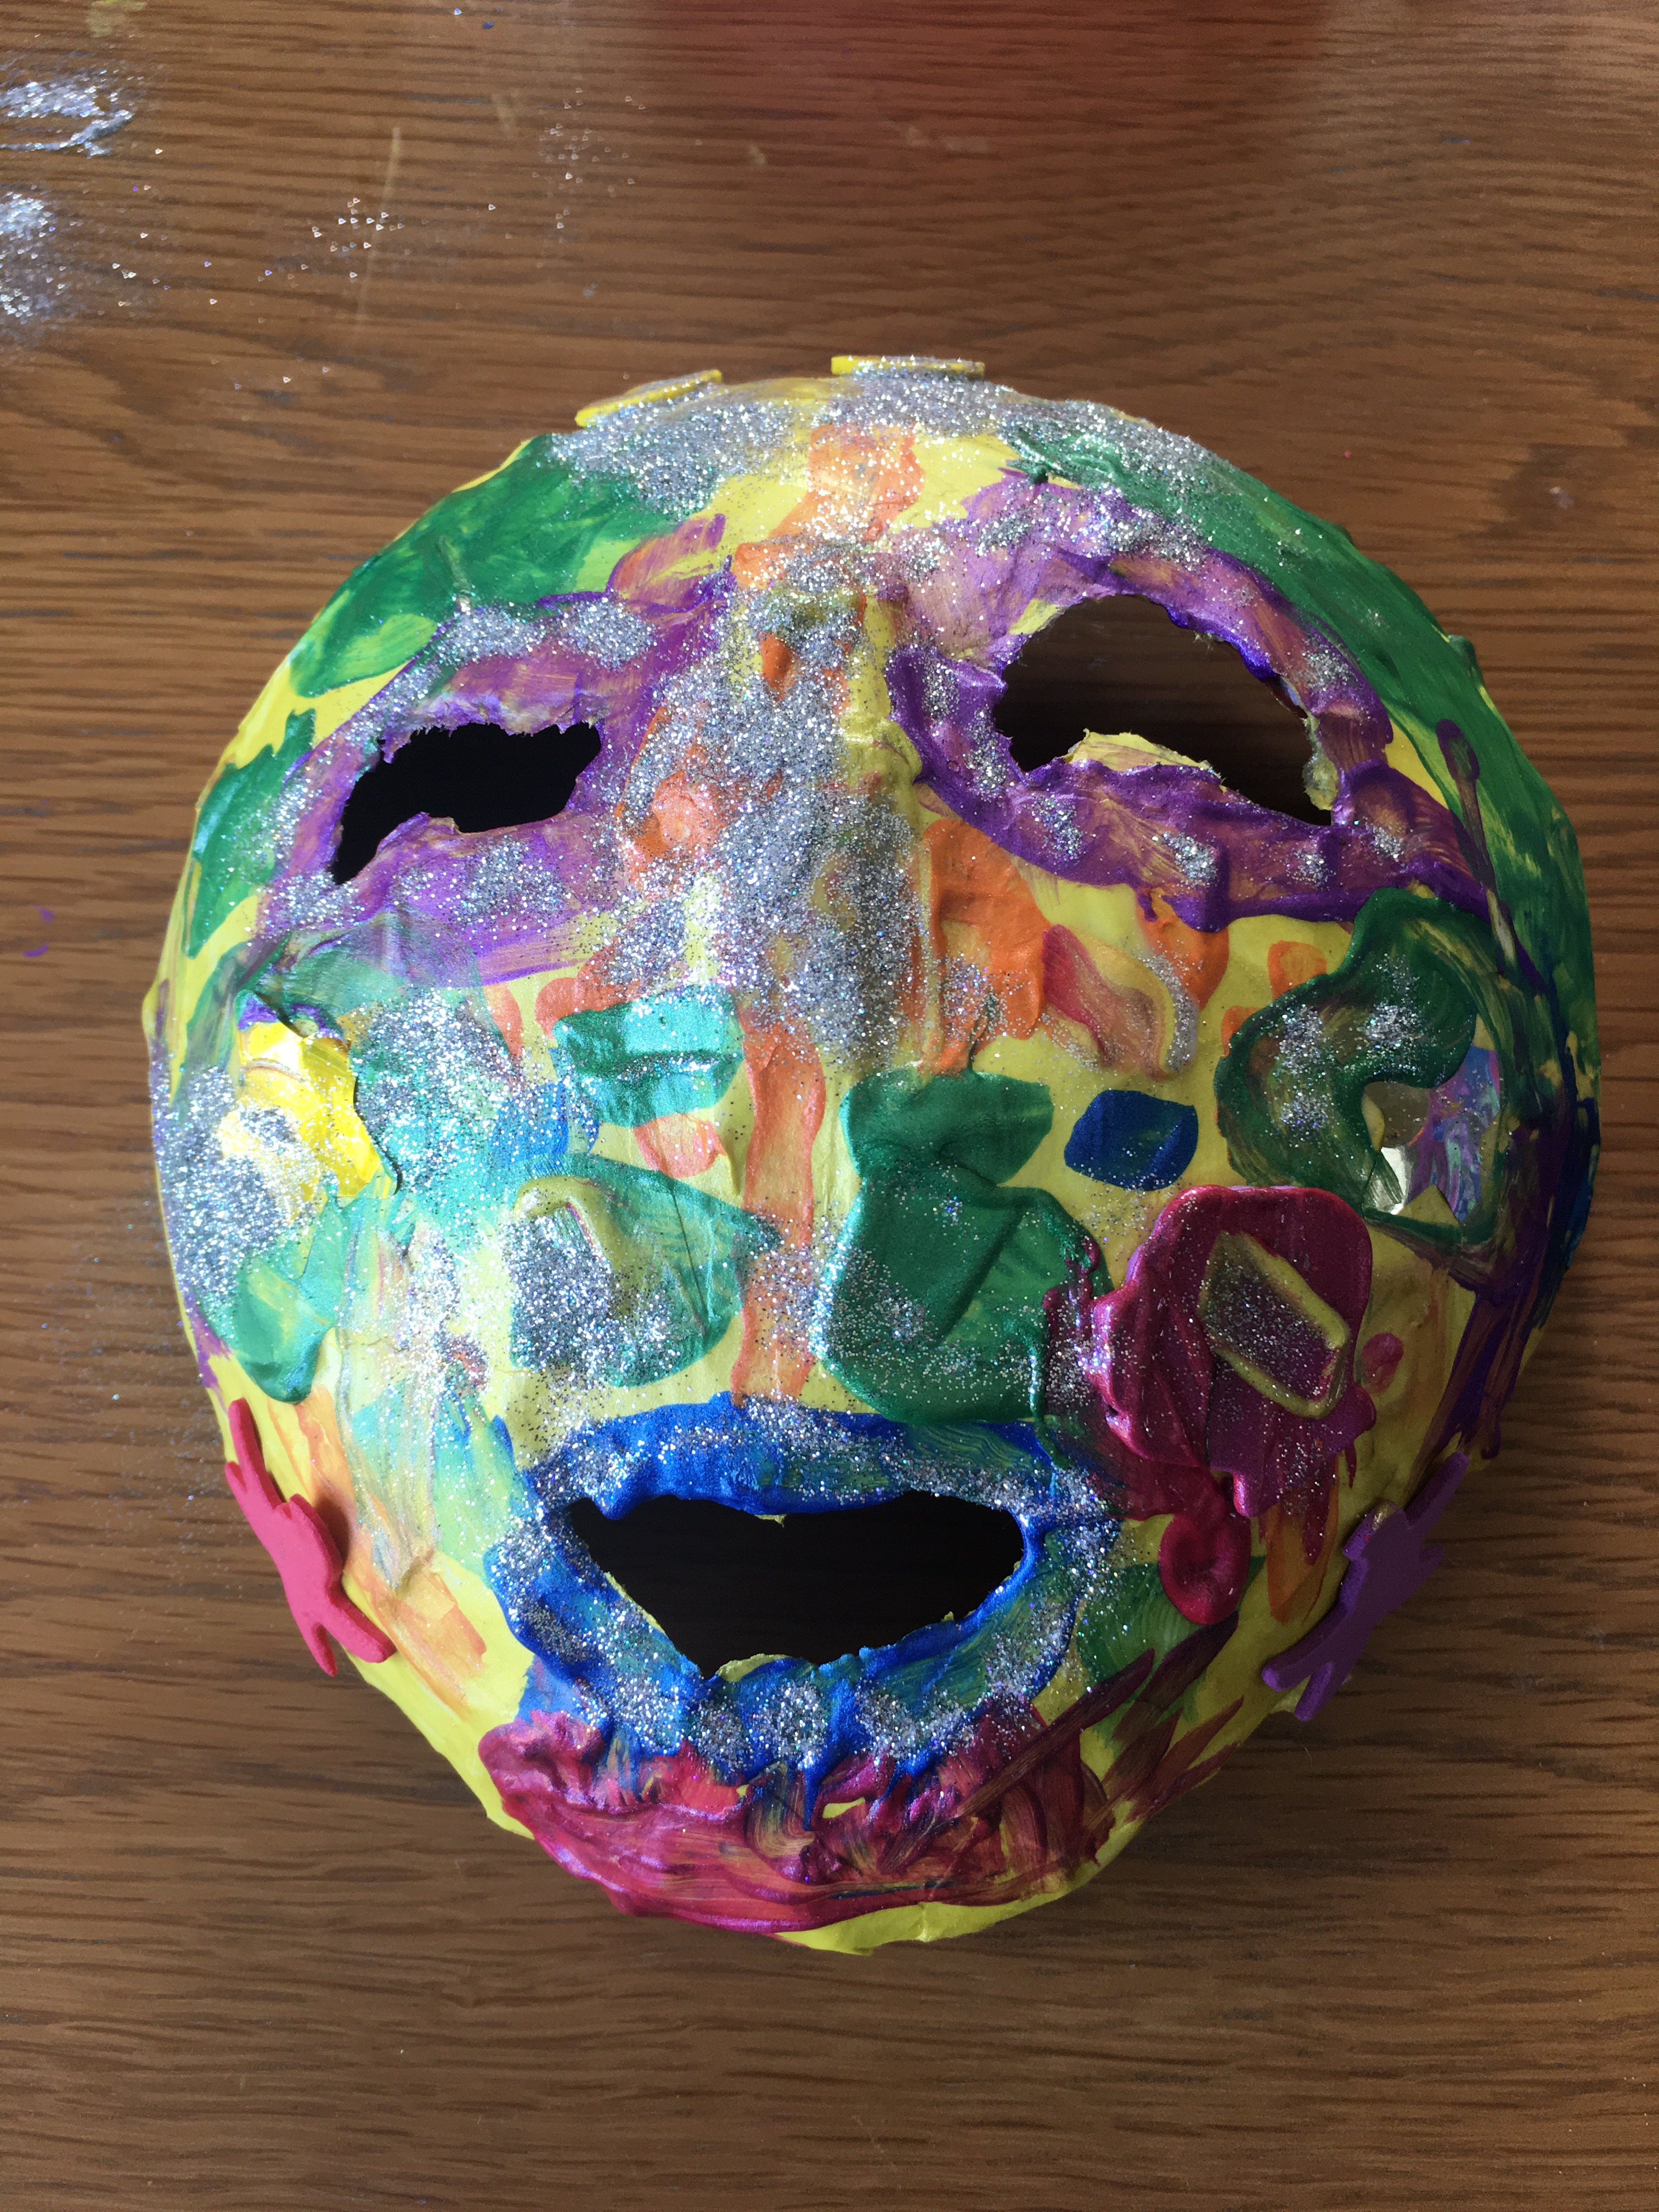
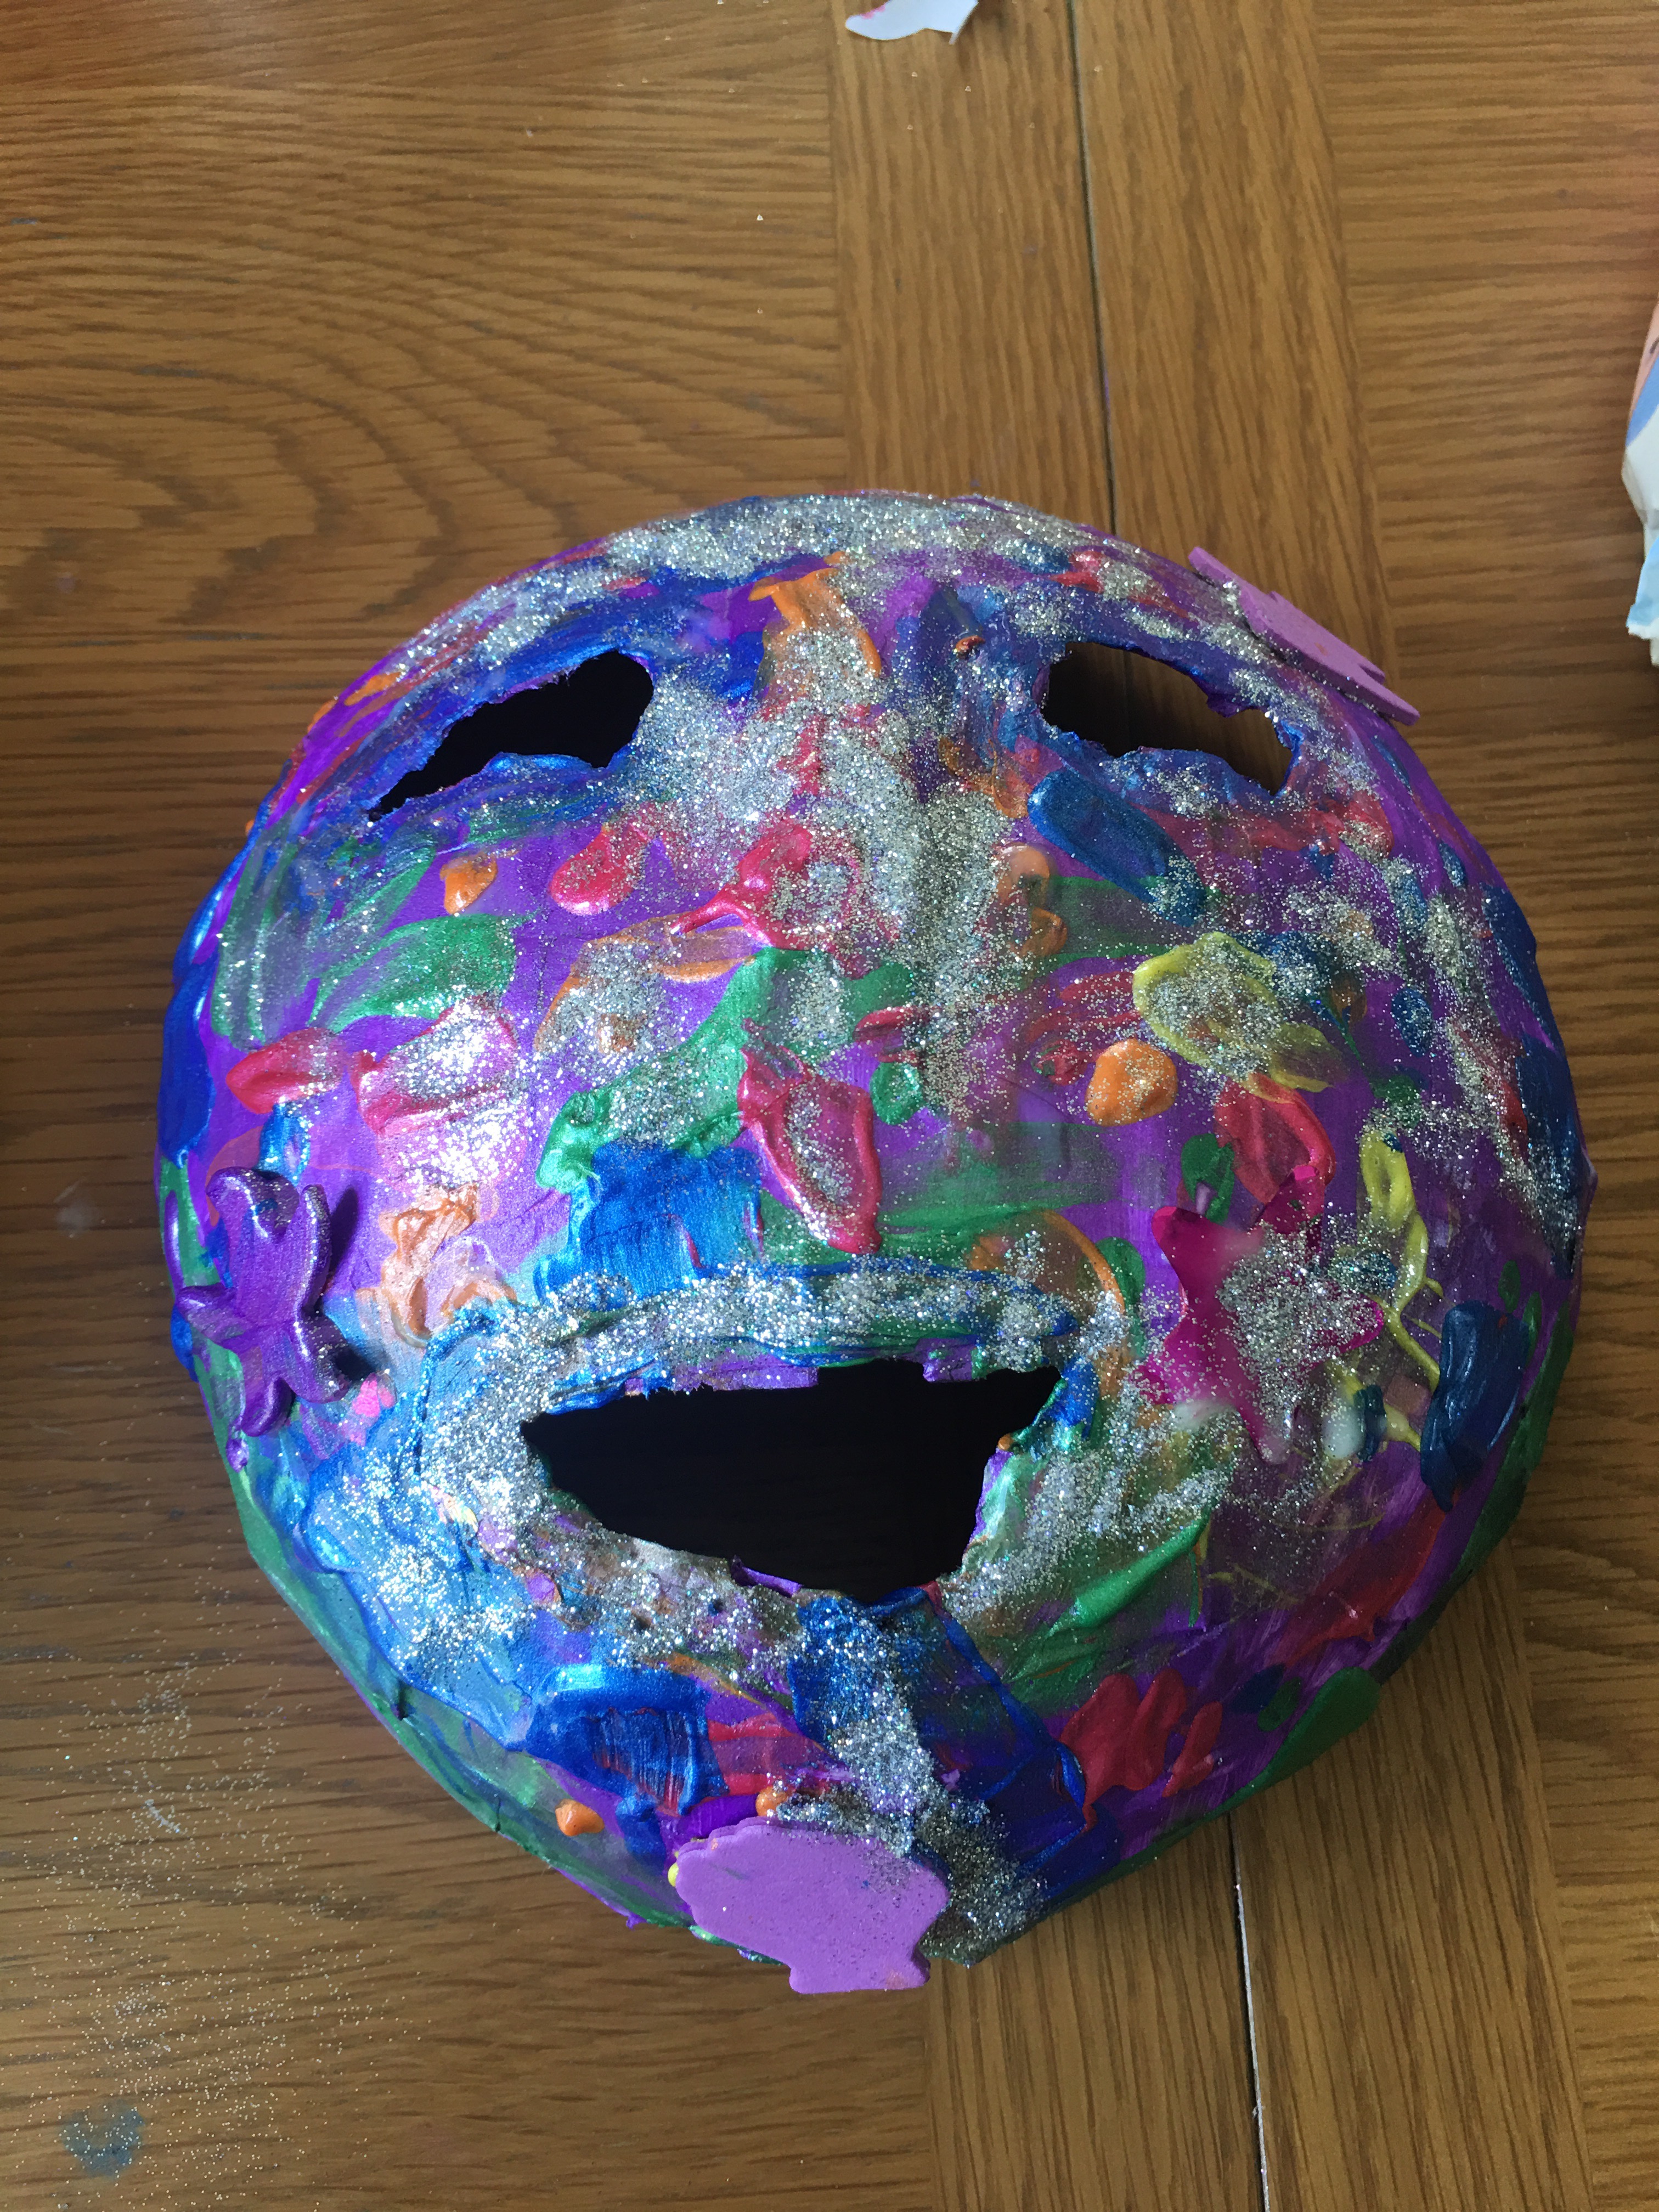
Once dried, I made a hole in either side of the masks and threaded some ribbon through so that we could tie them on securely.
Our girls had so much fun making these masks! It took a total of four days and it was such a lovely project to keep going back to each day.
